Nine Days Solo in Sarek
- Location
- Sarek
- Duration
- 9 days
- Distance
- 128.7 km80.0 mi
- Elevation gain
- 4122 m13,524 ft
- Season
- Autumn
- Difficulty
- Hard
Loading map…
Waypoints
Weather
| Day | Temperature | Rain |
|---|---|---|
| Day 1, Aug 29 | 8 / 12 °C46 / 53 °F | 14.5 mm0.57 in |
| Day 2, Aug 30 | 8 / 10 °C47 / 51 °F | 16.3 mm0.64 in |
| Day 3, Aug 31 | 2 / 9 °C35 / 48 °F | 0.6 mm0.02 in |
| Day 4, Sep 1 | 7 / 10 °C44 / 50 °F | 20.0 mm0.79 in |
| Day 5, Sep 2 | 7 / 13 °C44 / 55 °F | 0 mm0 in |
| Day 6, Sep 3 | 5 / 10 °C41 / 49 °F | 0.4 mm0.02 in |
| Day 7, Sep 4 | 7 / 10 °C45 / 51 °F | 1.1 mm0.04 in |
| Day 8, Sep 5 | 4 / 8 °C40 / 46 °F | 0.9 mm0.04 in |
| Day 9, Sep 6 | 4 / 9 °C39 / 48 °F | 0 mm0 in |
Weather data by Open-Meteo.com
TL;DR
A solo, nine-day loop from Kvikkjokk through Sarek National Park in early autumn, covering 128.7 km80 mi. The route passed Pårek, included a summit of Bårddetjåhkkå (2,007 m6,585 ft) and continued through Lullihavágge and Sarvesvágge. Along the way I waded the Sarvesjåhkå and the Rapaälven at the Tielma ford, then followed the north side of Rapadalen to Skierfe and Aktse before returning along the Kungsleden. It rained at times, but the sun came out when it mattered.
About Sarek
Sarek National Park lies in Swedish Lapland, in the far north of Sweden. It is one of Europe’s most remote mountain regions, shaped by high peaks, broad valleys and glaciers. Sarek has no marked trails and almost no infrastructure, such as huts or bridges. Once away from the popular nearby sections of the Kungsleden, you are largely on your own, and that is what makes Sarek appealing to me.
Preparation
I started planning this trip several months in advance. I wanted the route to include a bit of everything Sarek has to offer. This meant reading blog posts, researching possible routes and studying the potential risks. Based on that, I put together a route plan with backup options and decision points. My final plan covered approximately 130 km80.8 mi over ten days, with daily distances of around 15 km9.3 mi.
I chose early autumn because of the autumn colors, the lack of mosquitoes, chilly nights, and safer river crossings, as water levels are generally lower. I carried my trusted three-season gear and food for ten days: the full list is on the gear page.
Days 1 and 2: Up from Kvikkjokk
I arrived at the Kvikkjokk parking lot around noon, just as a light drizzle began to fall. The forecast for the coming days was rainy, but I was optimistic there would be at least a couple of clear days during the hike. I was slightly concerned that heavy rain might force me to change my route, since my plan included two major river crossings.
My backpack weighed around 15 kg33.1 lb as I set off.
The first 7 km4.3 mi along the Kungsleden, before turning north toward Pårek, was a typical Nordic forest trail covered with rocks and roots, with occasional bogs and boardwalks. The drizzle gradually soaked the vegetation, but fortunately the trail was not very muddy yet, since the previous days had been dry.
As I climbed toward Pårek, the forest gave way to more open terrain with small lakes and bogs. The spectrum of early autumn colors seemed especially vivid this year. As the path narrowed and the rain picked up, I began looking for a place to pitch my tent. Soon I found a good spot on top of a small hill, where puddles wouldn’t form during the night.
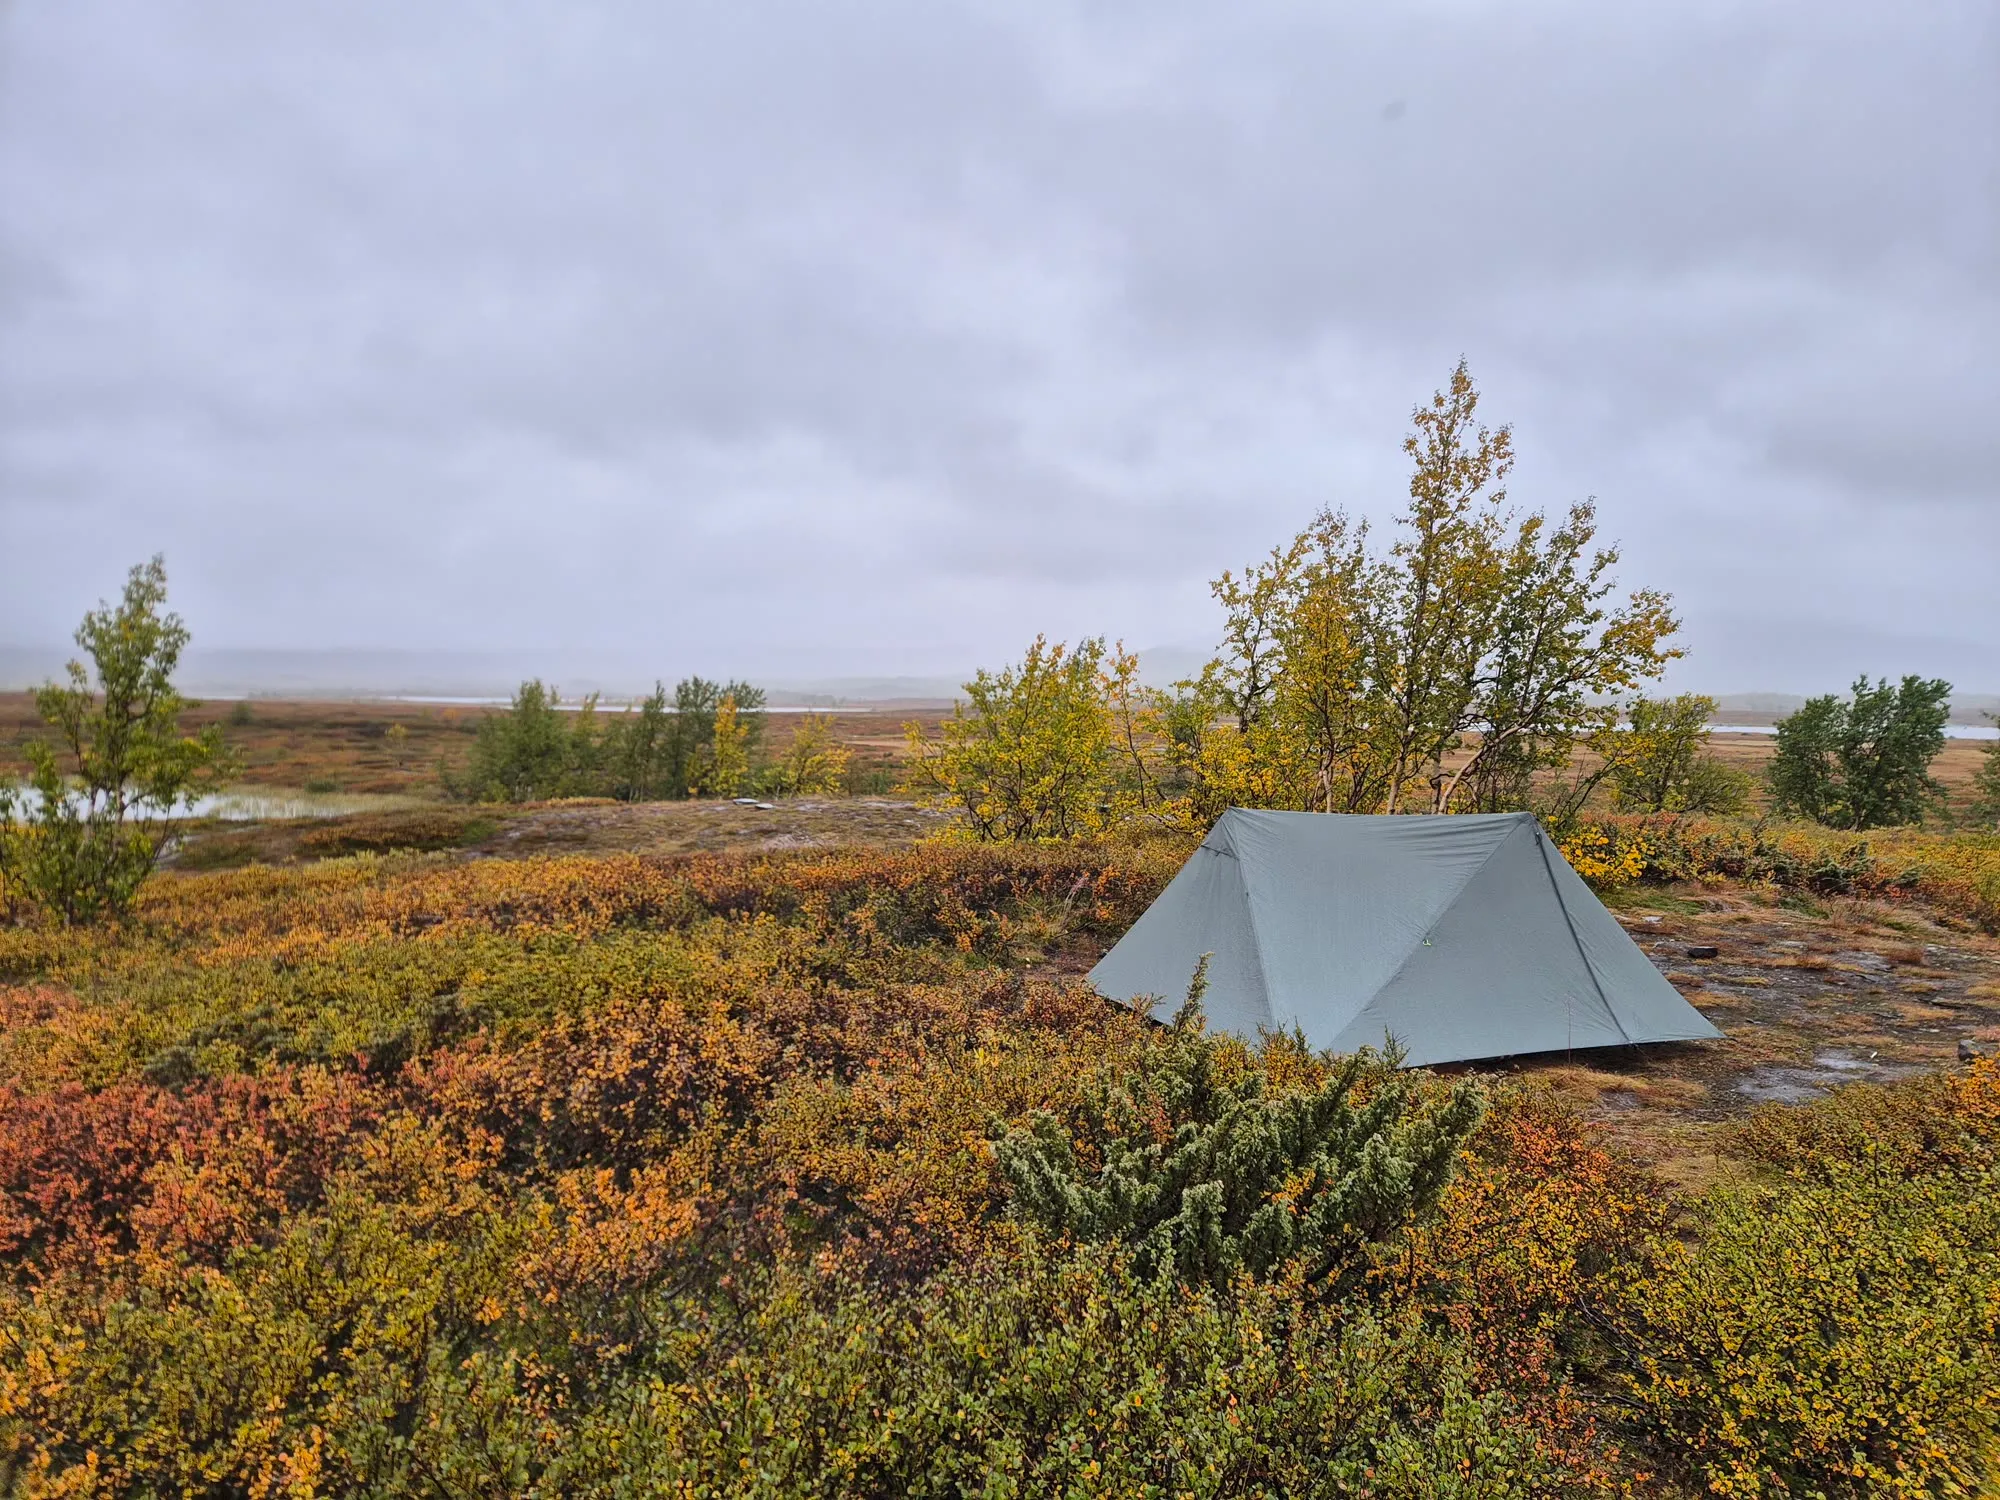
When I woke the next morning it was still raining, and the clouds had descended even lower than the day before. I still couldn’t see the mountain range that should have been right ahead of me.
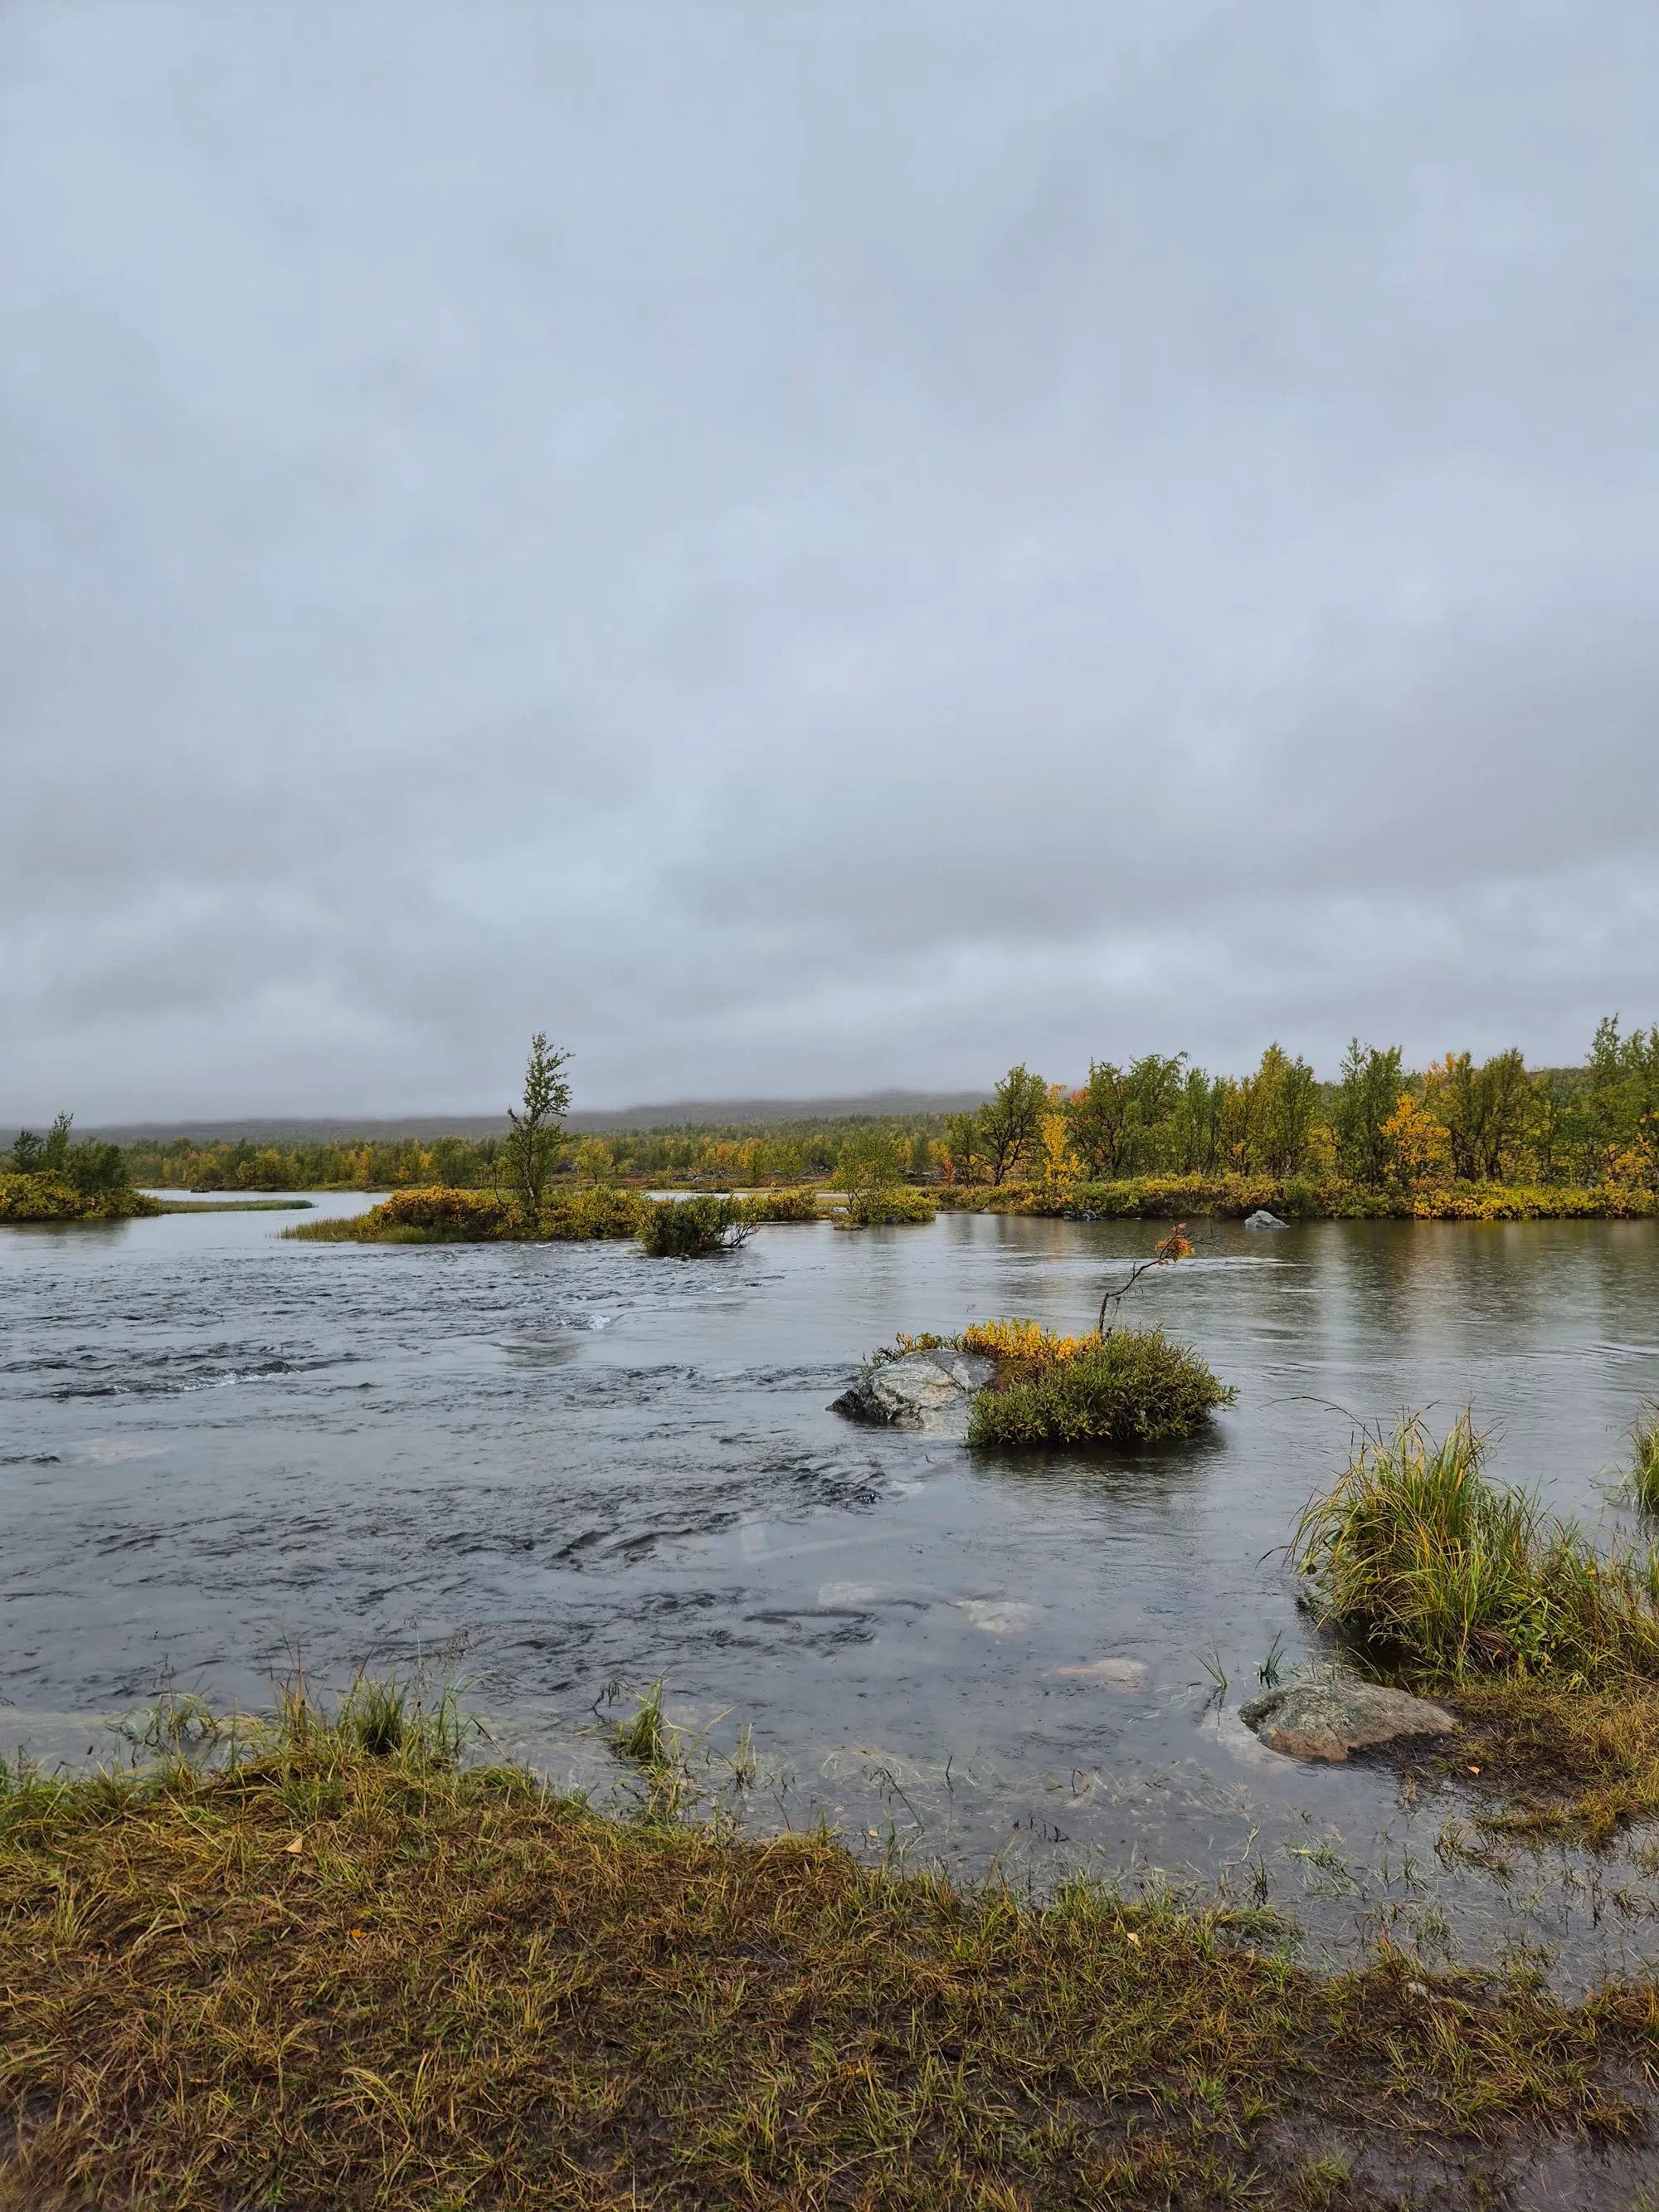
I soon reached the first stream at the Boarekjávrre lake. It had been raining continuously and the water level looked high. I put on my neoprene socks and clogs and entered the cold stream. Although it was higher than expected, the current was moderate and I was able to cross without much difficulty.
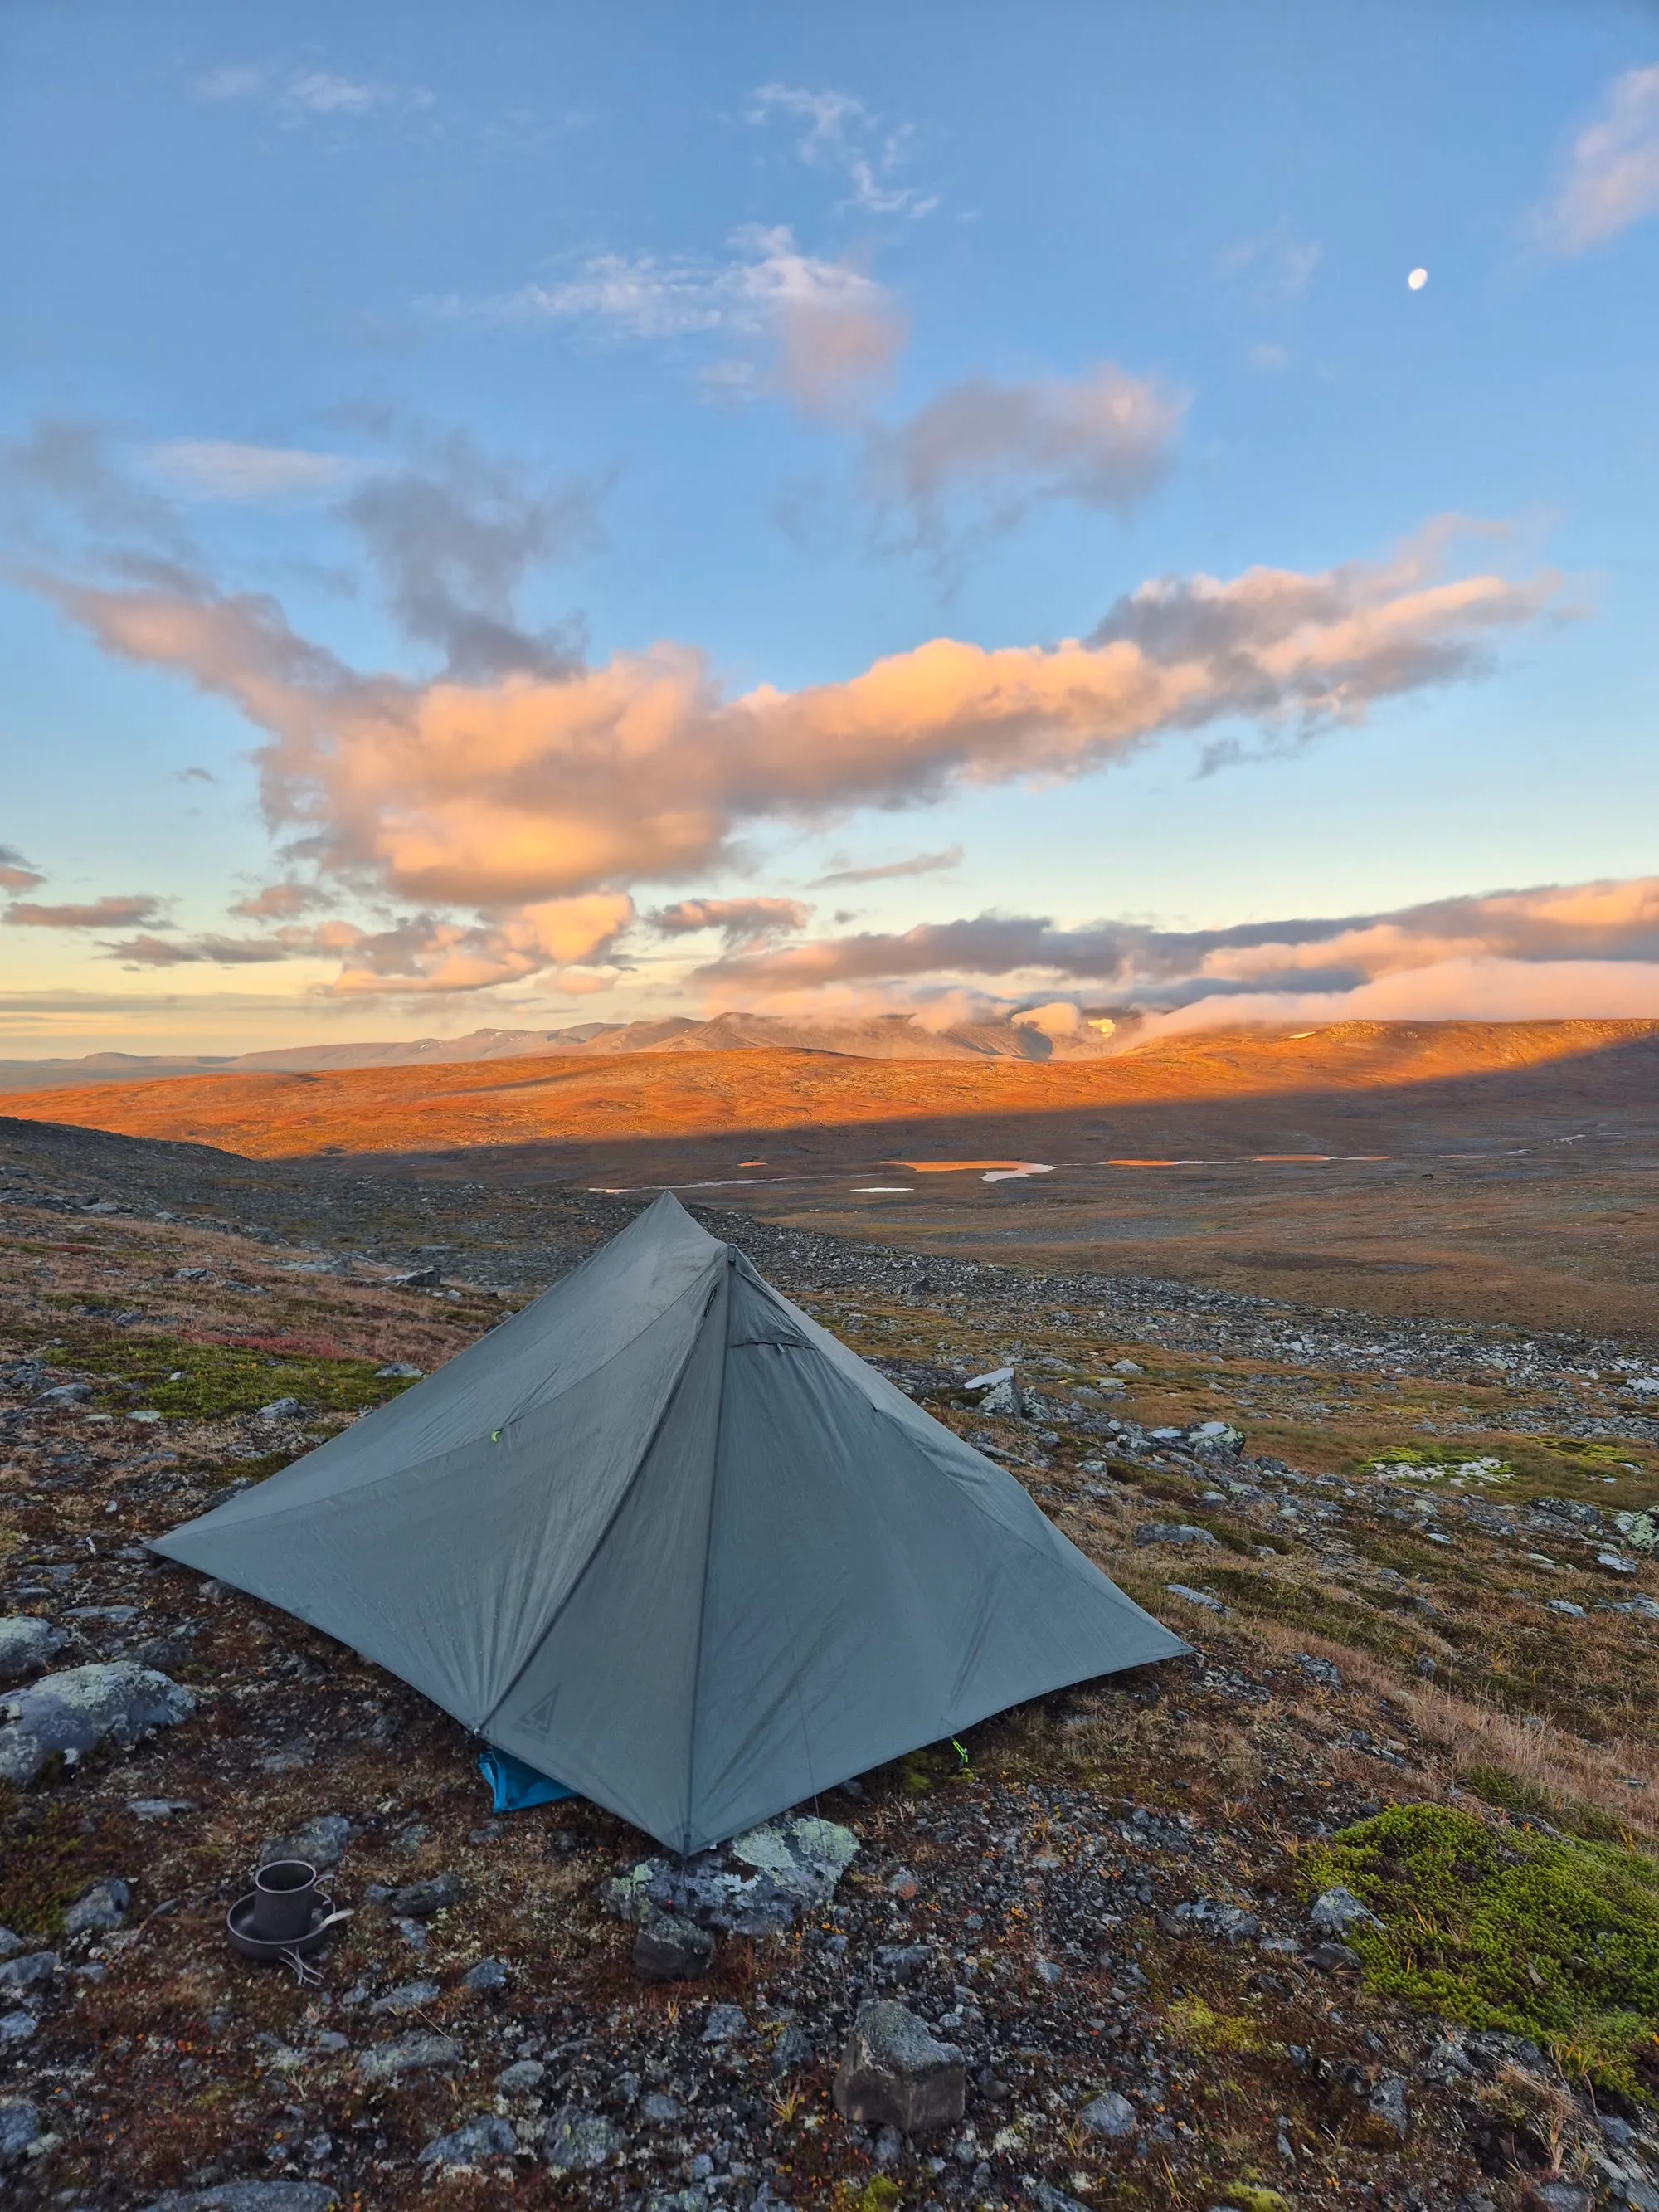
After the crossing I continued hiking above the tree line toward the foot of the mountain range. The clouds were low, limiting visibility to a few hundred meters. I decided to press on farther than originally planned, hoping to make the following day’s summit attempt easier. I pitched my tent beside a mountain stream at an elevation of 1,200 m3,937 ft.
Fortunately, the rain stopped during the evening and the weather began to clear.
Day 3: Bårddetjåhkkå Summit
I was glad to wake to clear weather. It meant I could see the route ahead and attempt the summit of Bårddetjåhkkå (Pårtetjåkkå, 2,007 m6,585 ft). If it had been raining and the clouds had stayed low, I would have taken the alternative route I had planned.
I packed my gear as the sun was rising and soon began the 800 m2,625 ft ascent. I carried 1.5 liters of water for the climb, since I was not sure whether there would be reliable water sources near the summit.
I took a fairly direct line north toward Hambergs observatory, an old research station. The final part of the climb was steep and progress was slow. I would not have felt comfortable there if the rocks had been wet. There is another route that starts a bit farther east and follows the ridge up to the observatory along an old cairned path. It would probably have been the less exposed line.
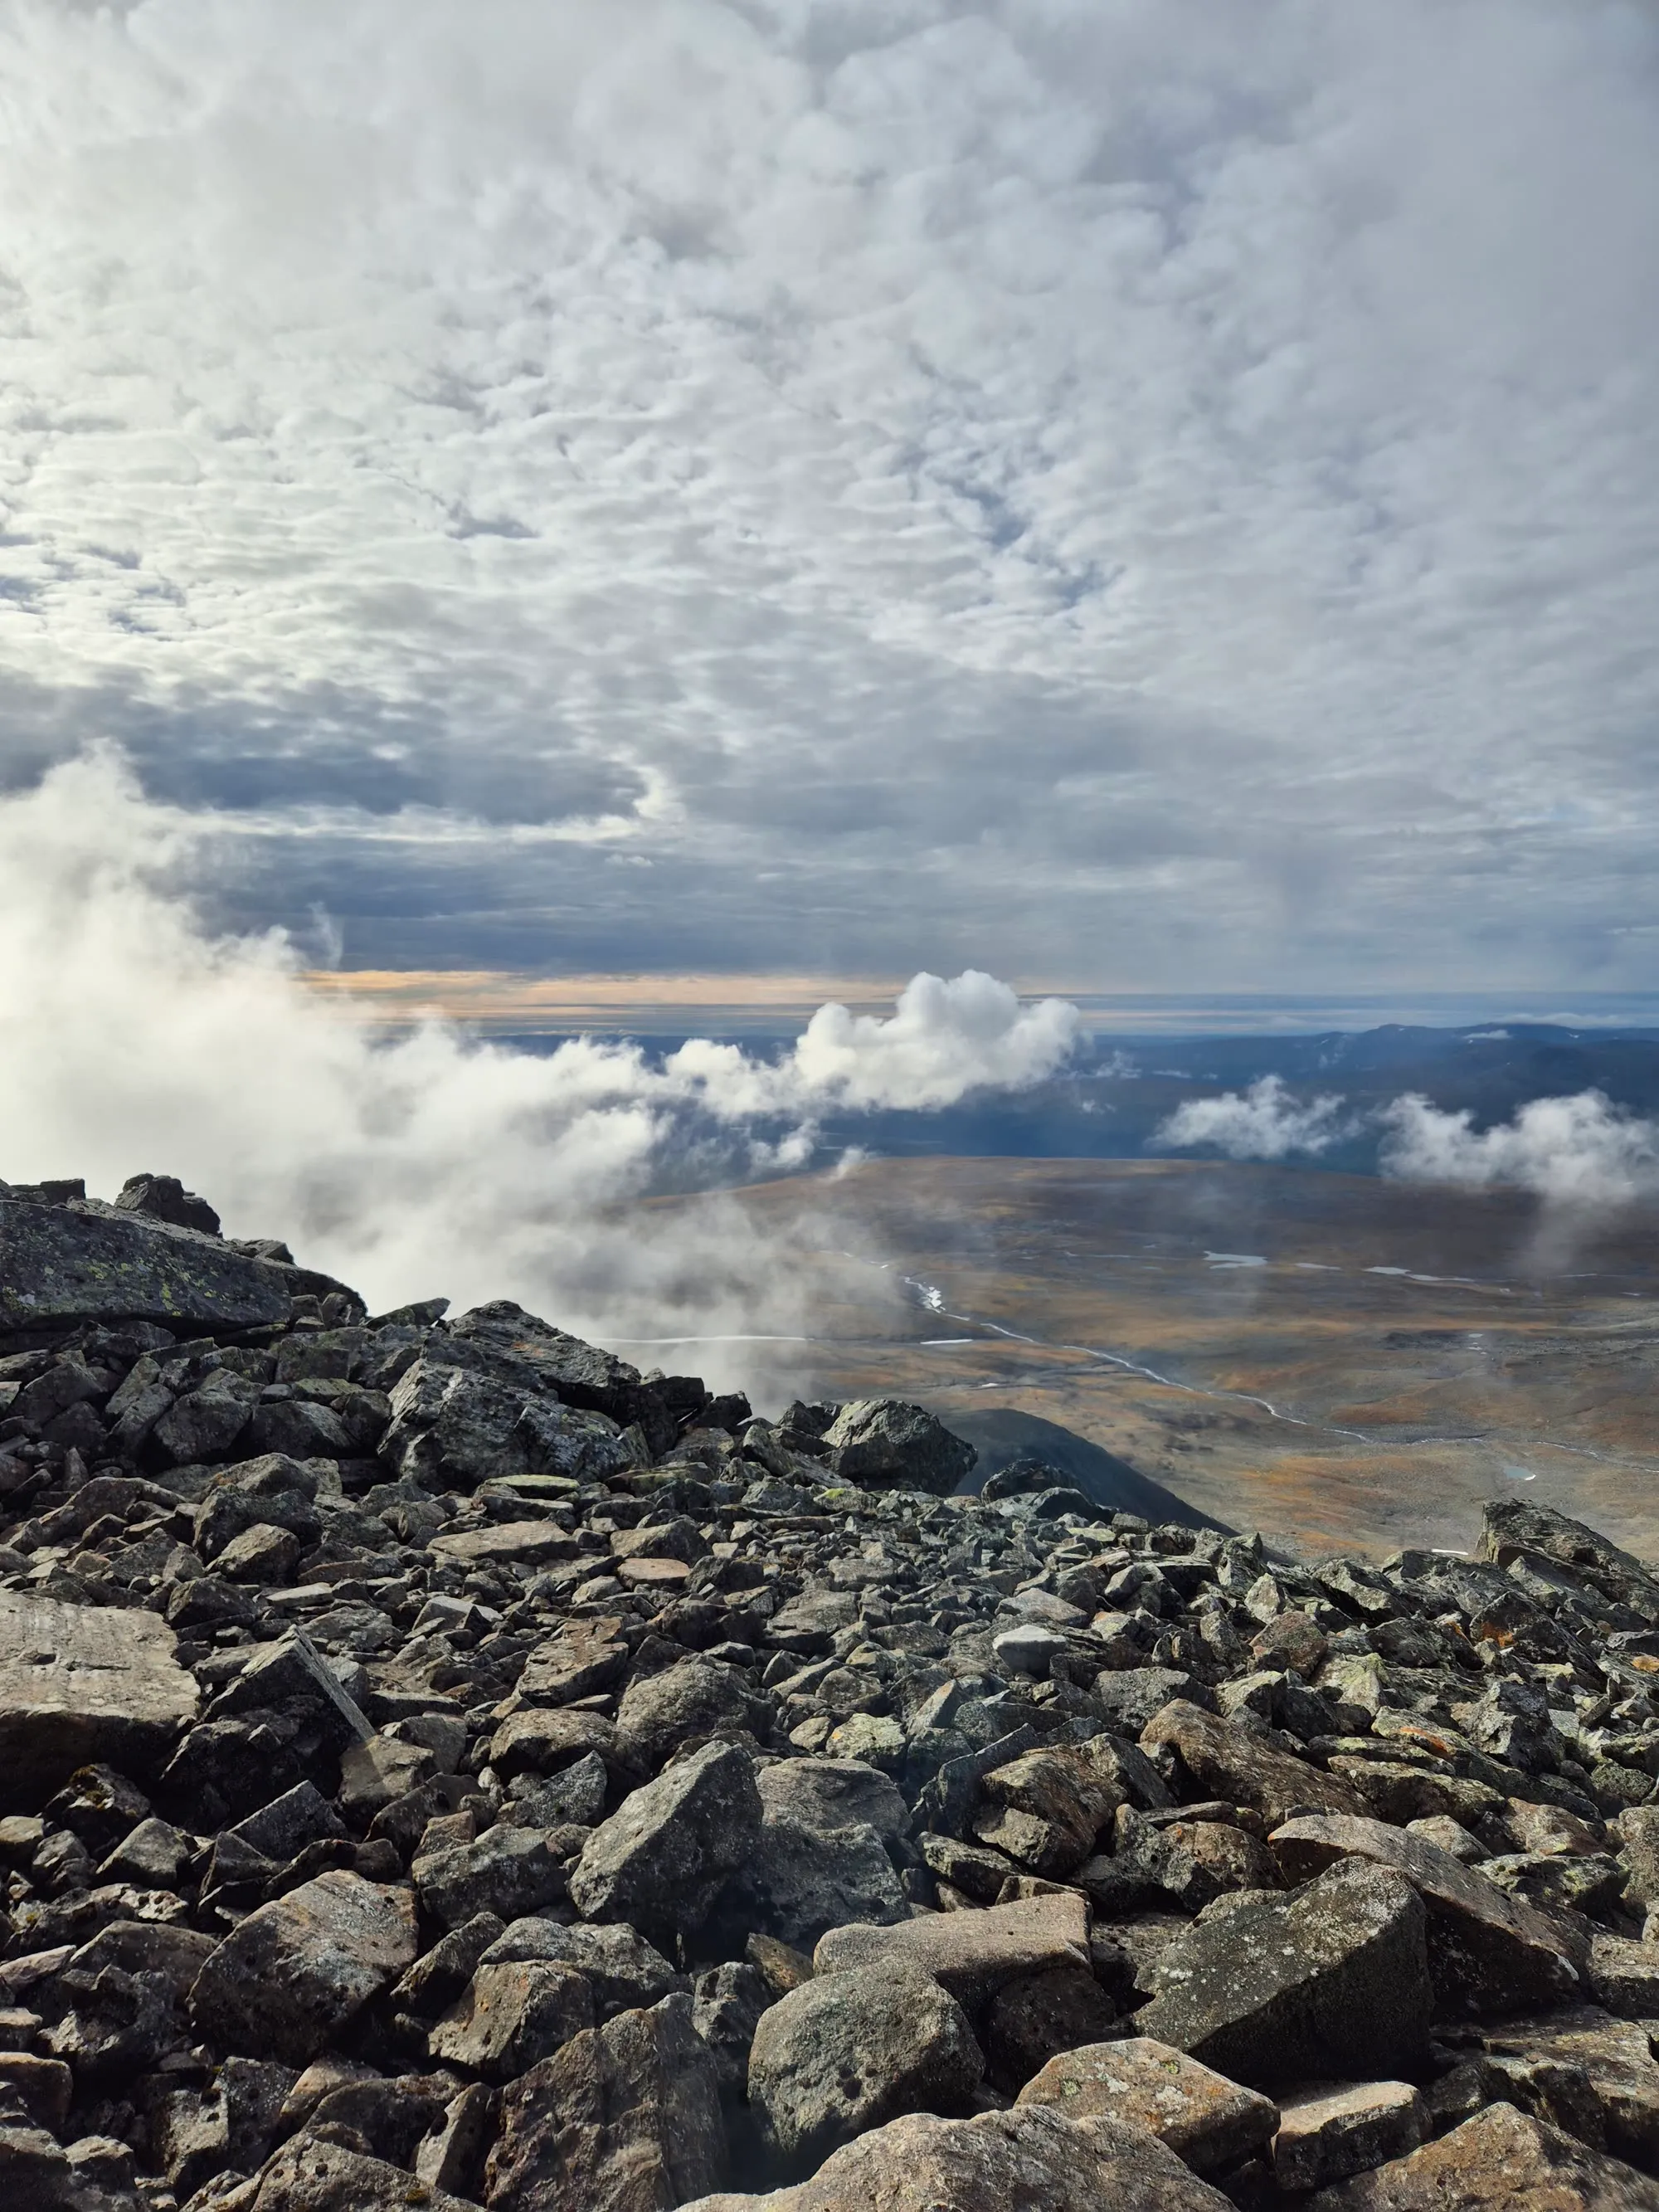
I left my backpack at the observatory on the mountain saddle before beginning the final 200 m656 ft to the summit.
Clouds had begun forming a wall on the southern side of the mountain, where I had just climbed from. I watched them for a while before going on. They appeared to be holding their position, so I continued toward the summit. If they moved north while I was up there, I would be coming down blind.
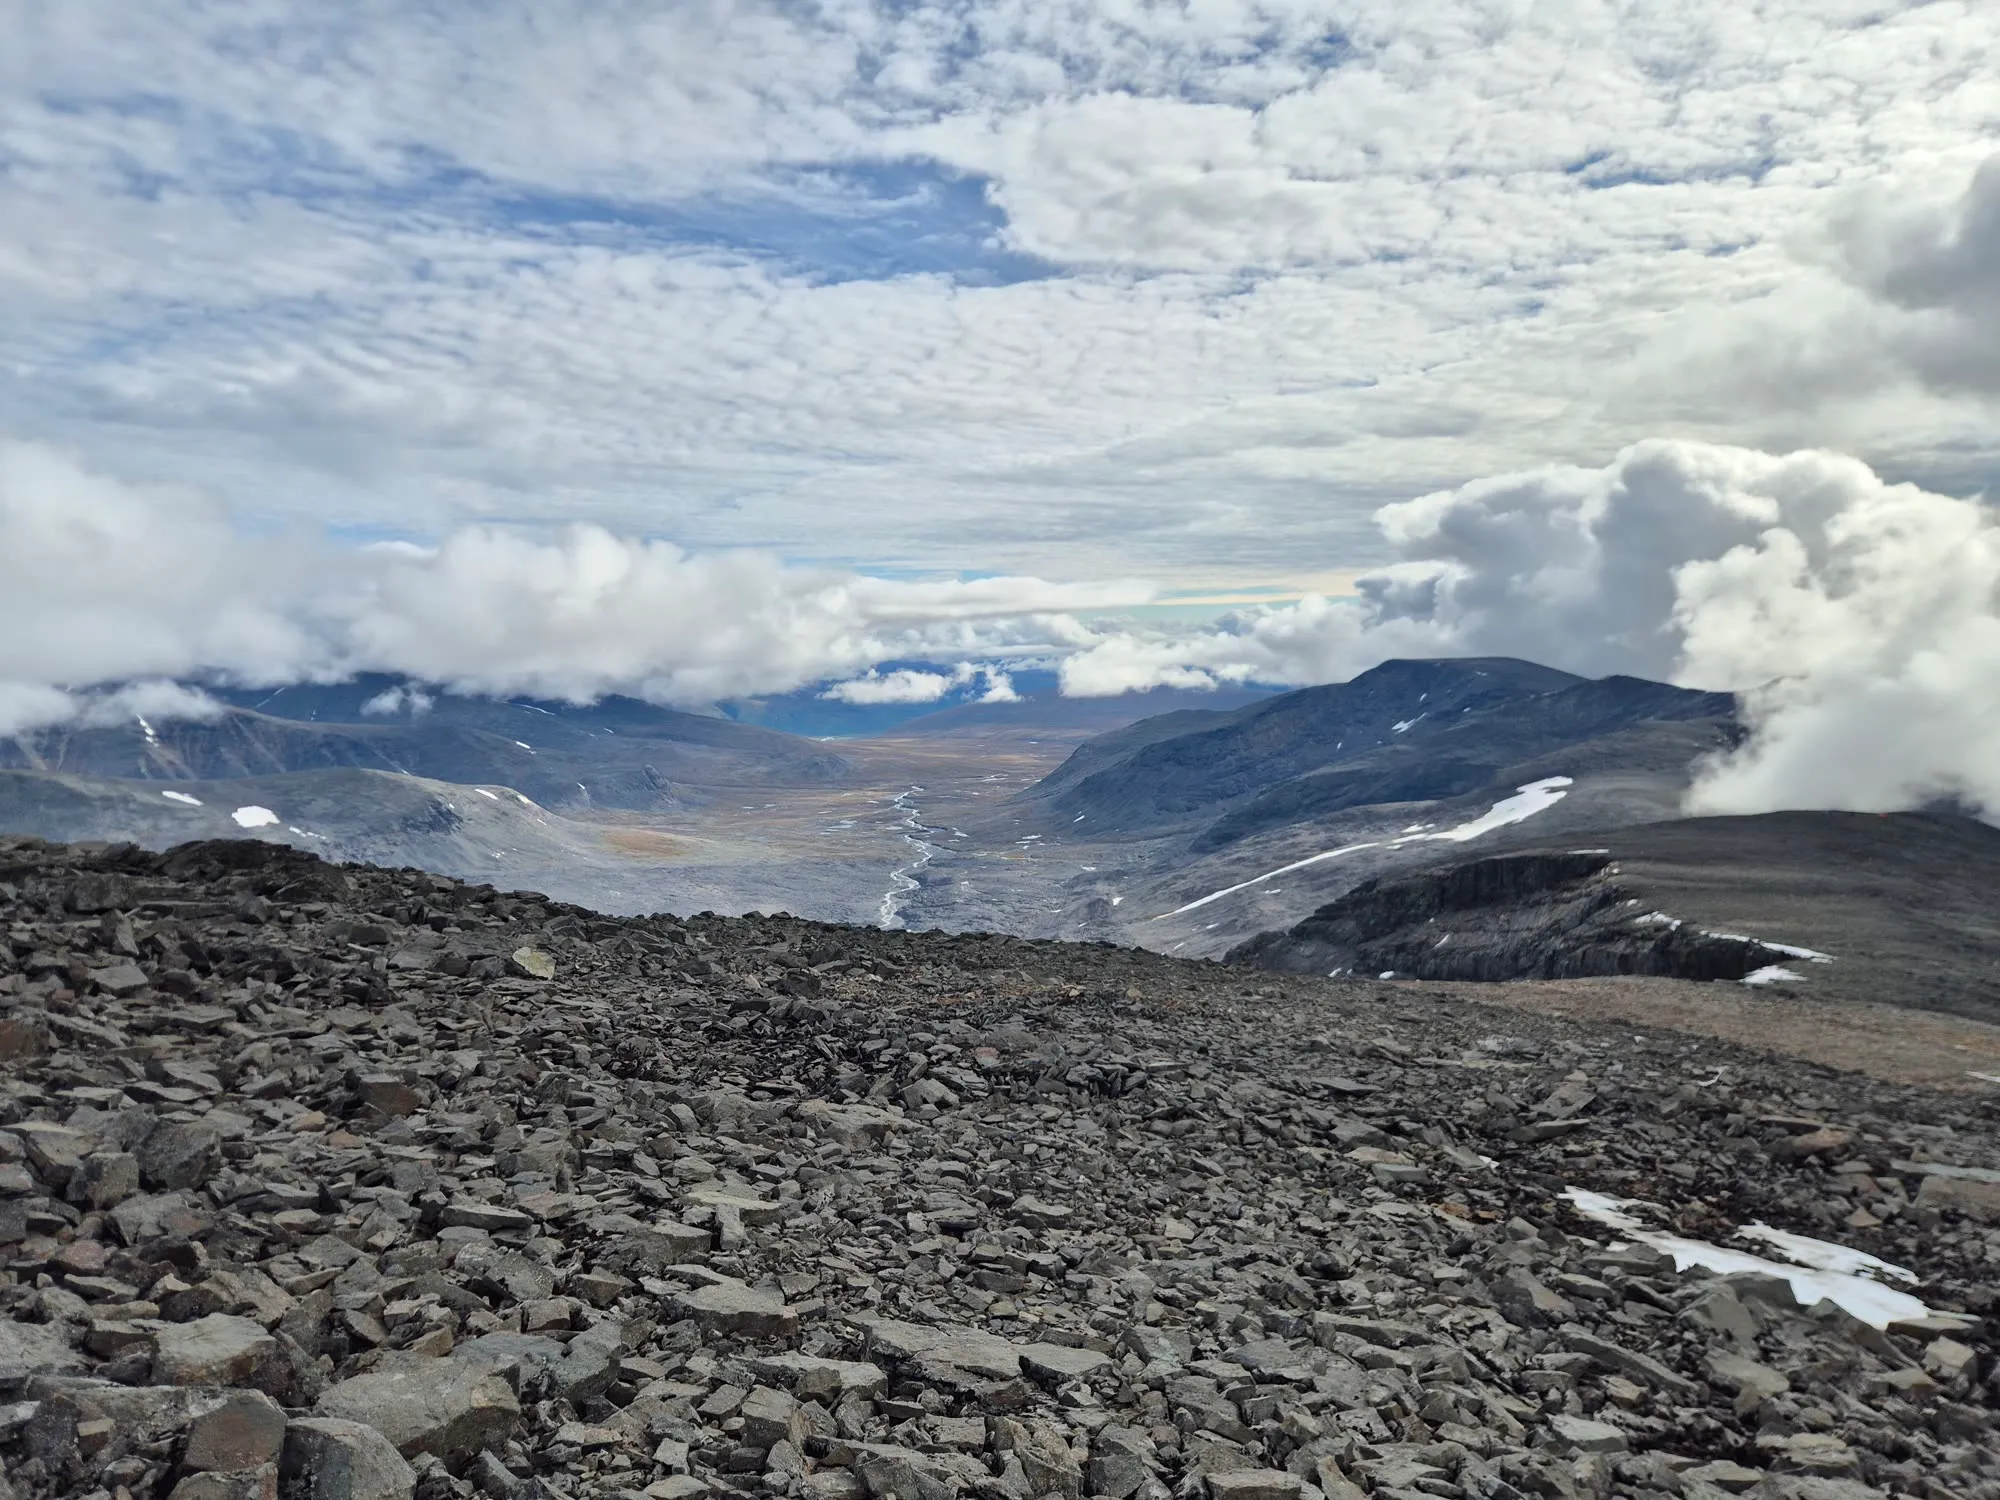
From the top, the surrounding valleys, glaciers and mountain ridges finally came into view. After the previous days of rain and low clouds, the scale of the landscape felt almost unreal. I would have liked to stay longer, but it was time to begin the descent before the clouds closed in.
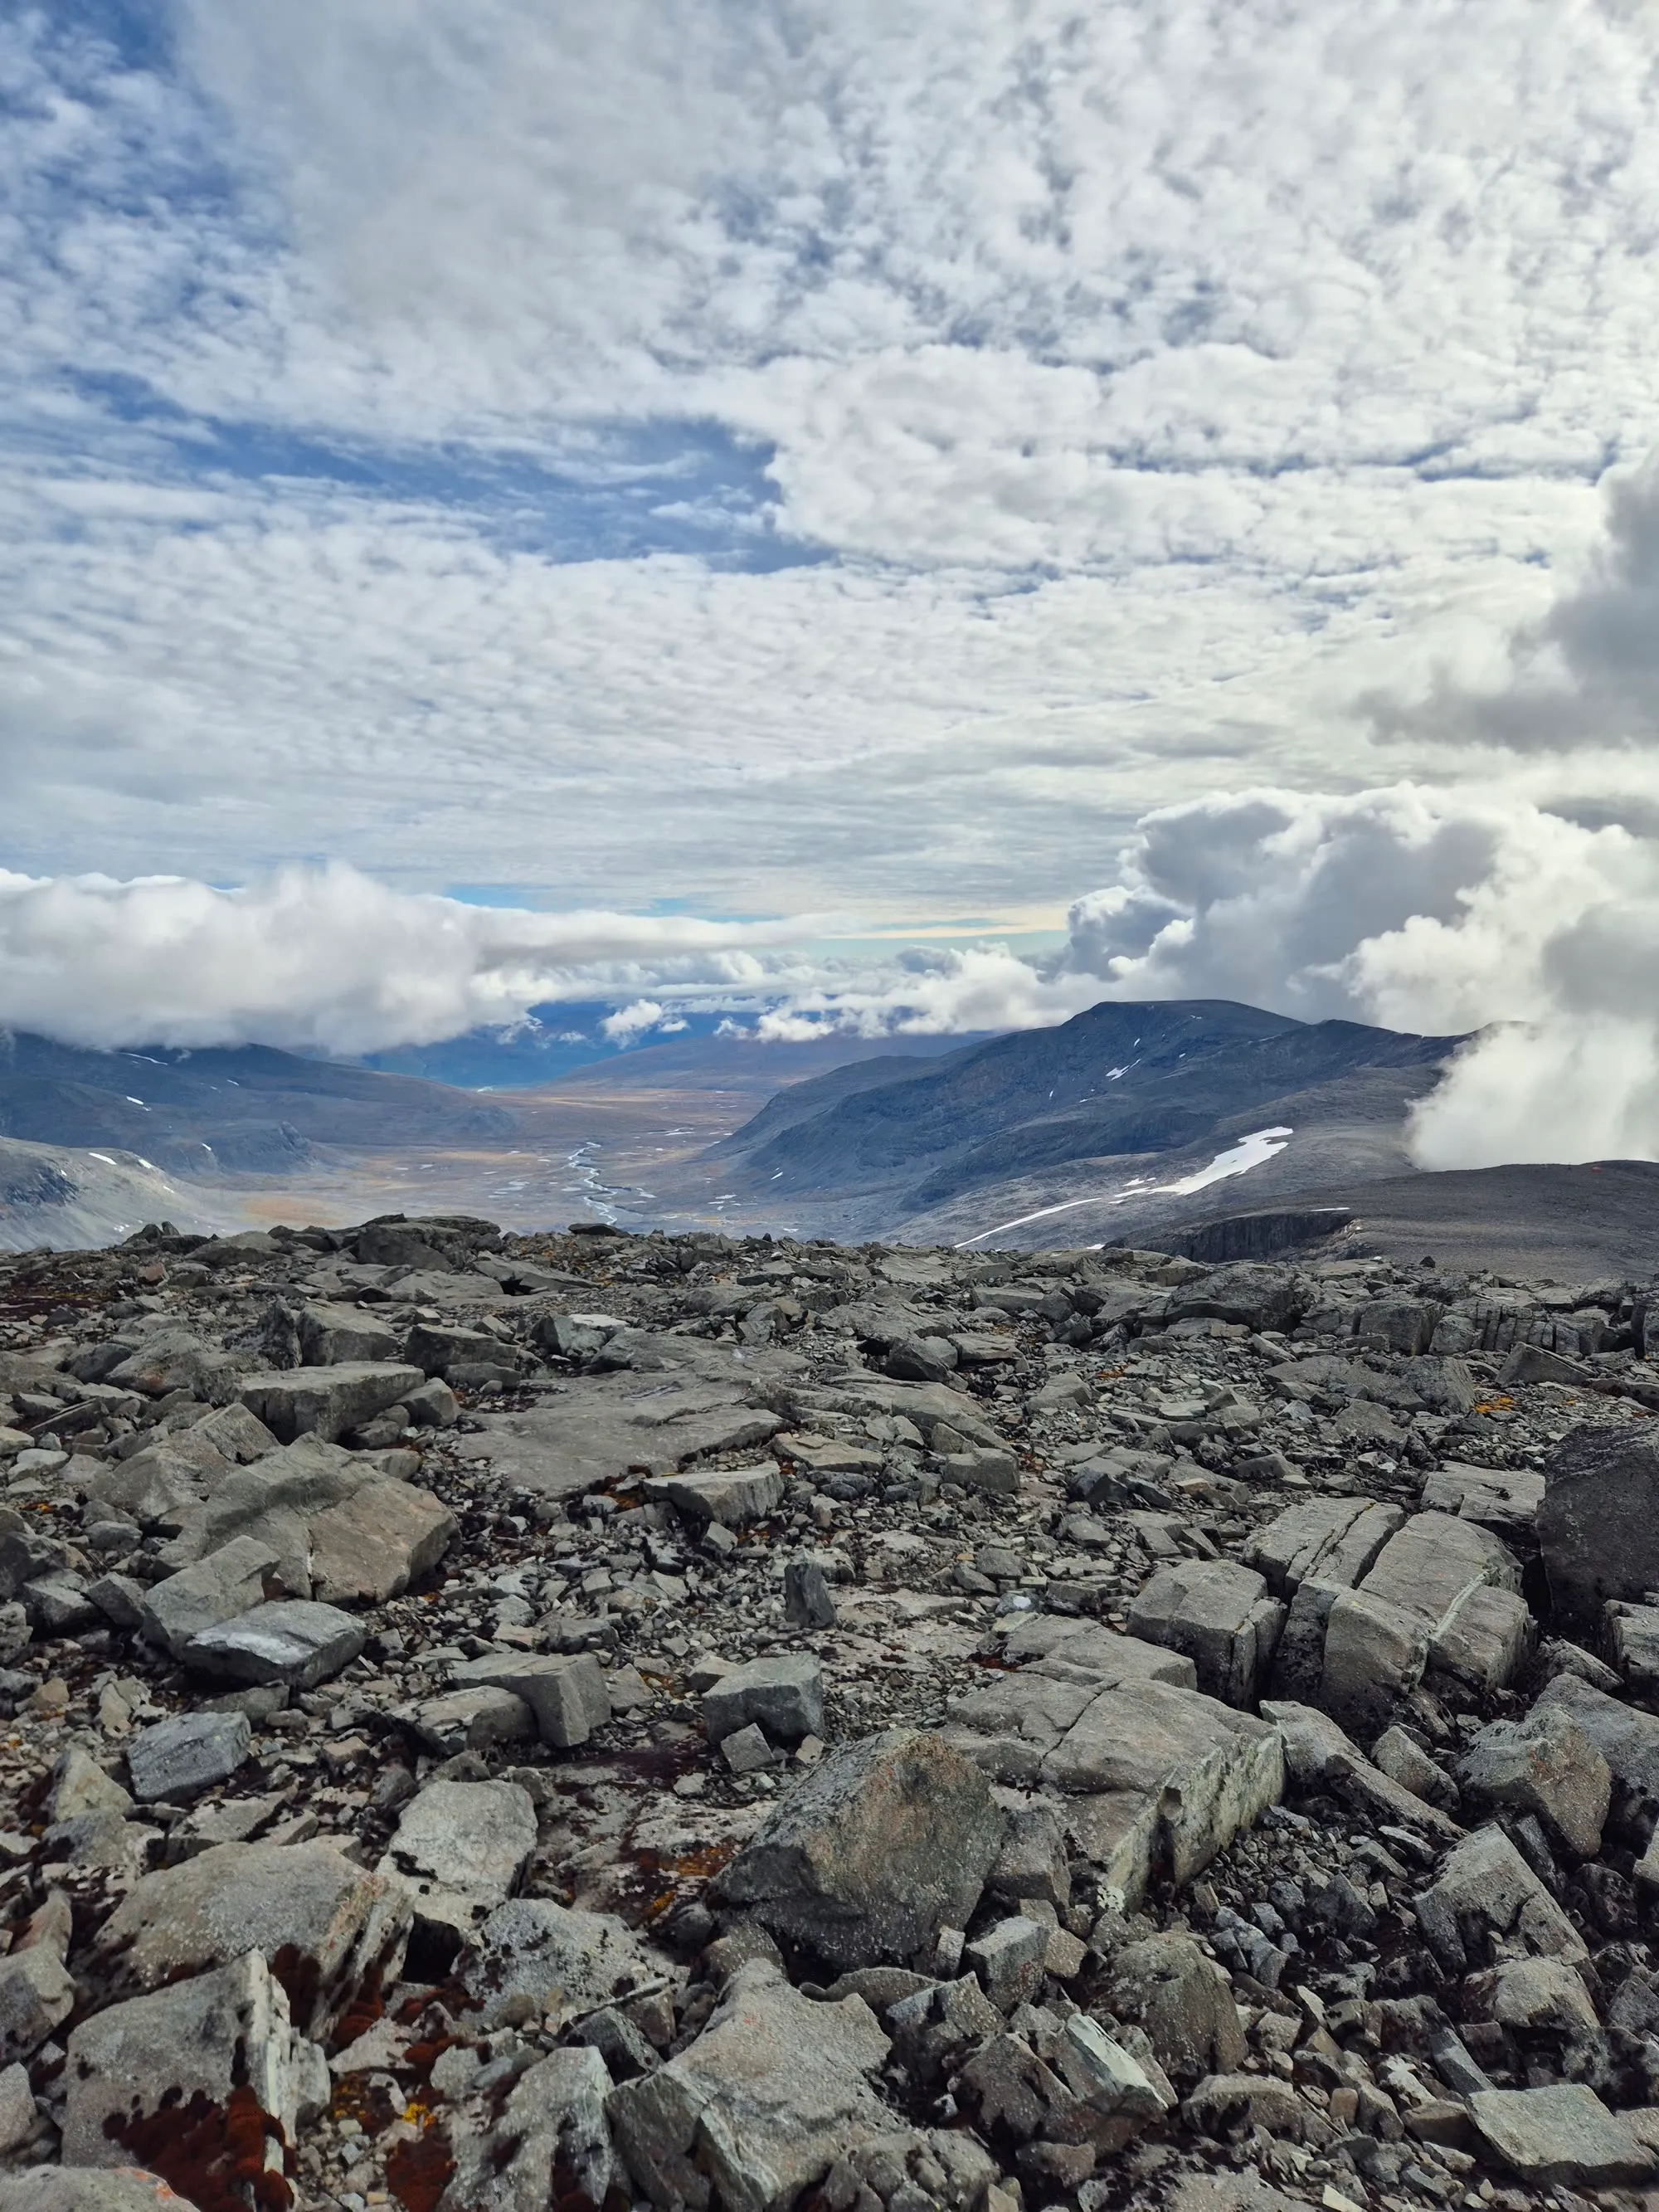
After getting past the steepest section down to the foot of the mountain, I assumed the rest of the descent would be easier.
I was wrong.
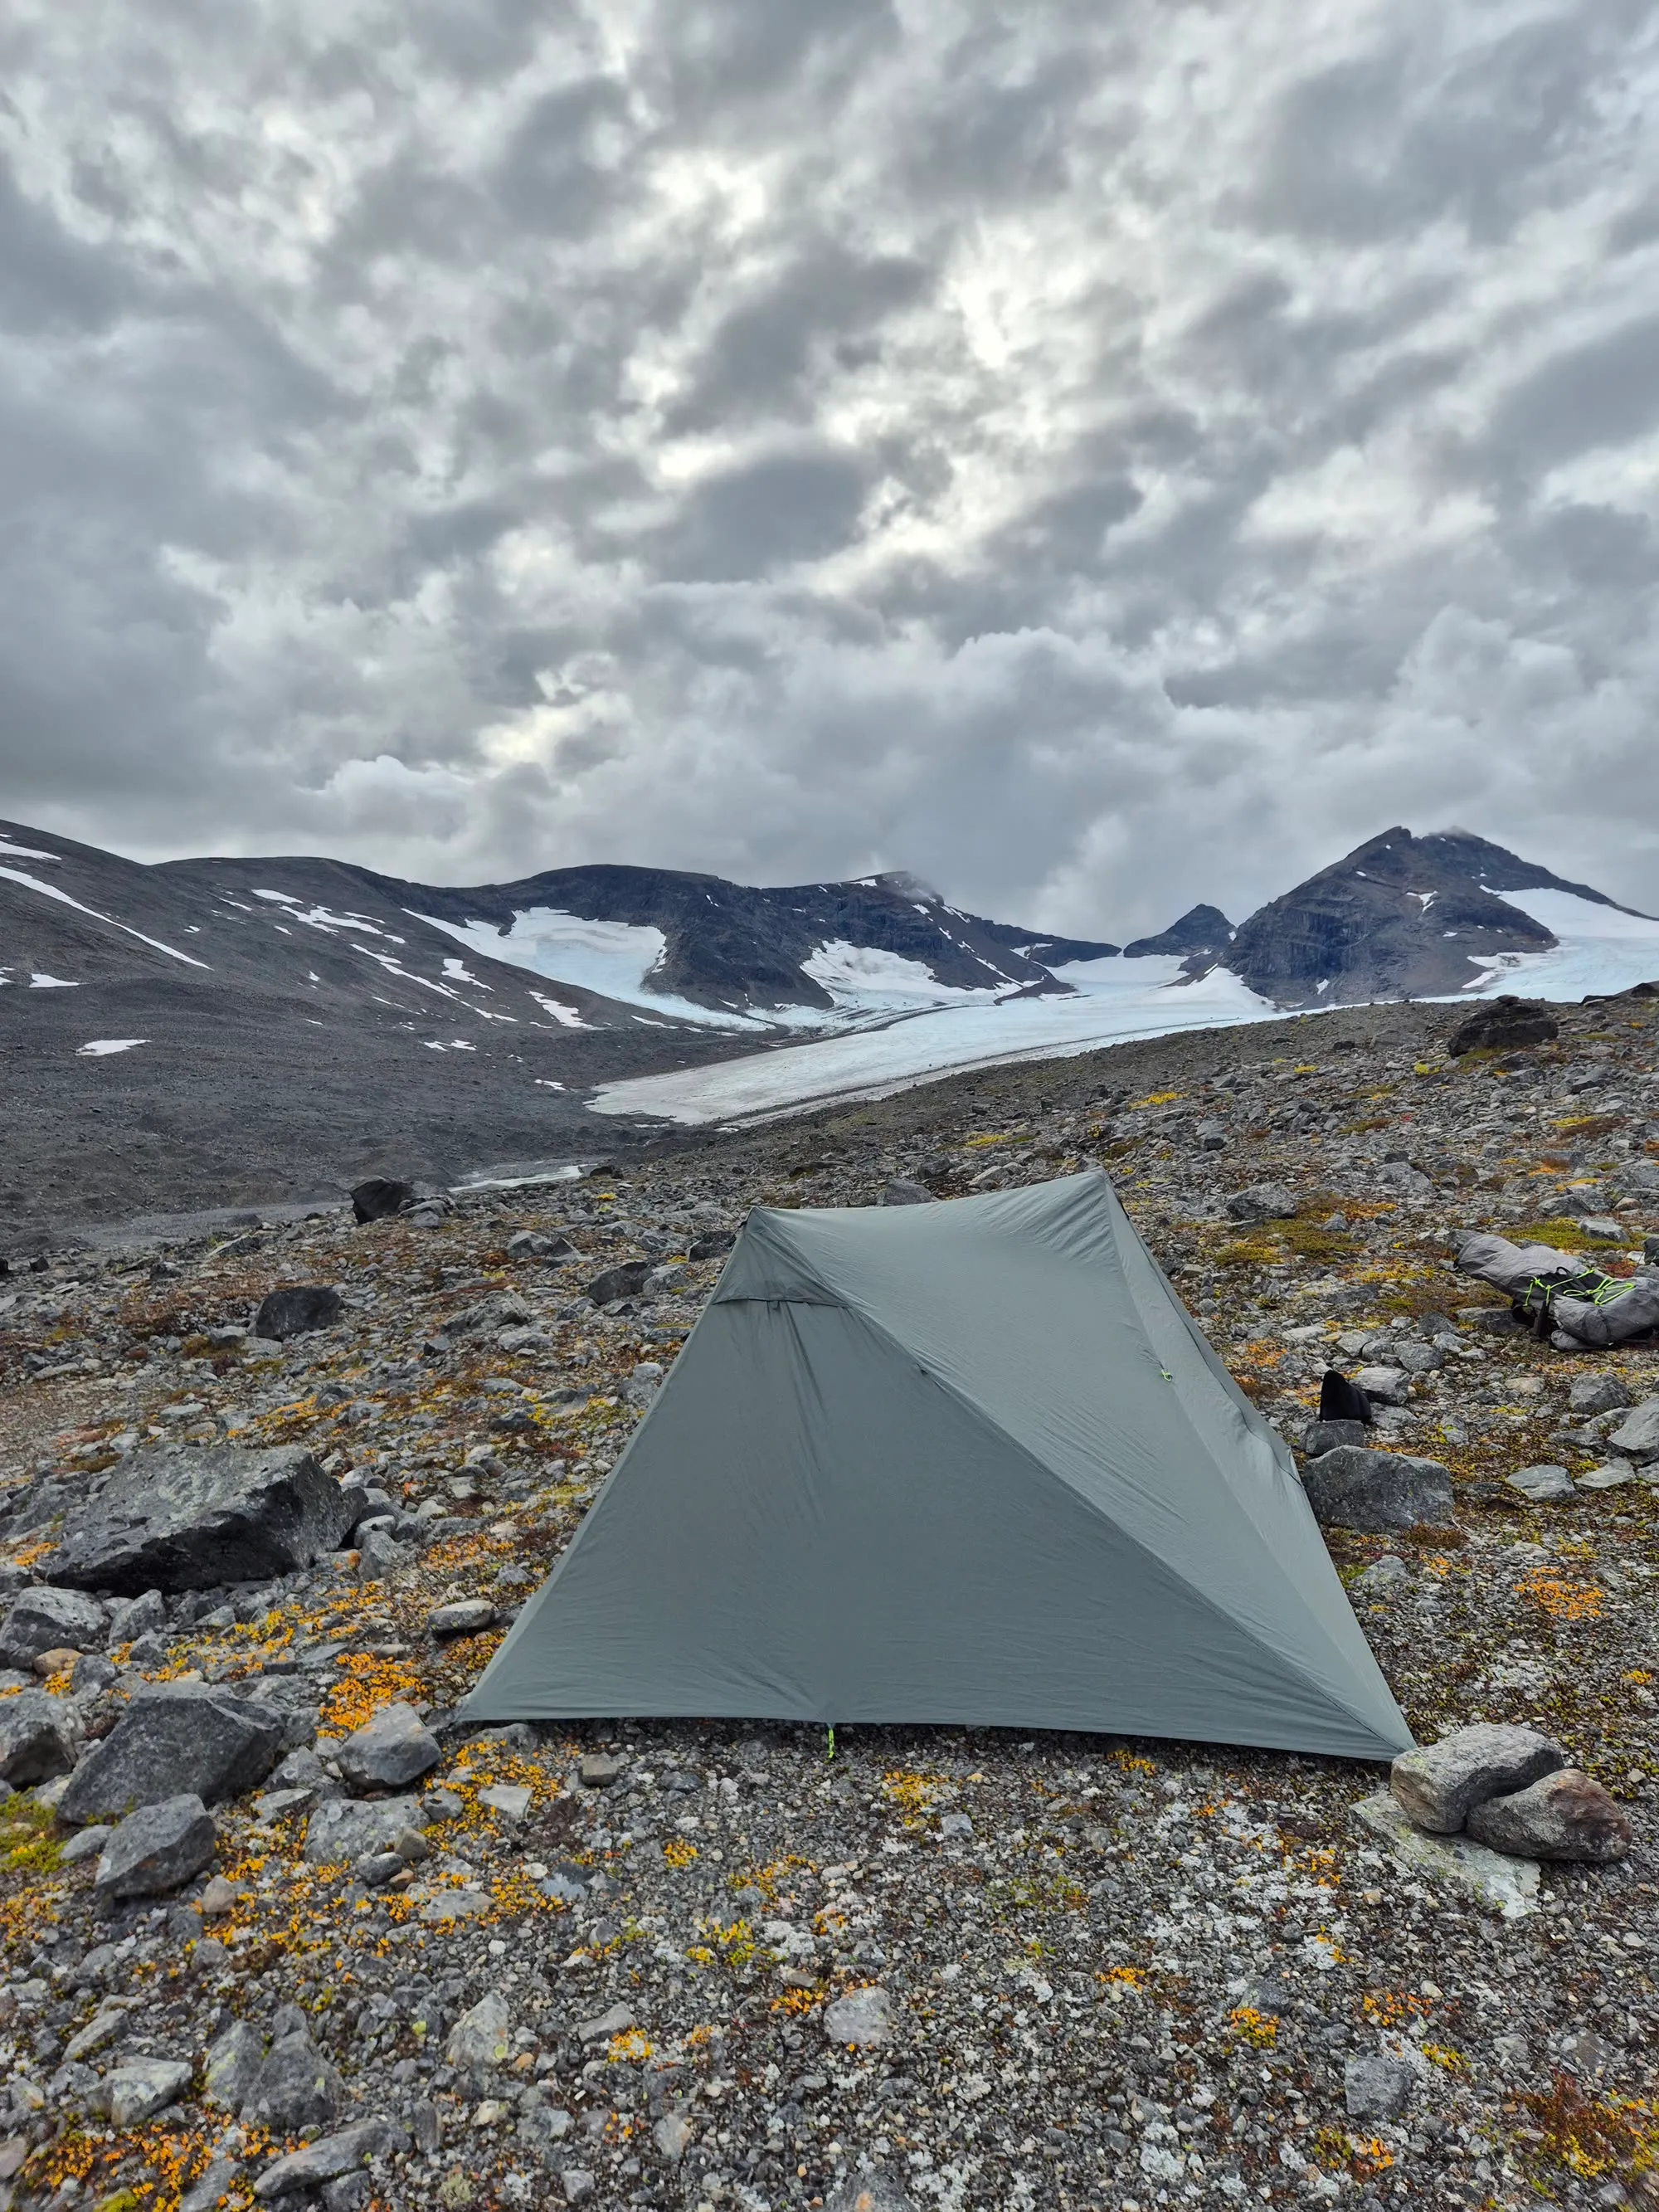
The moraine between the foot of the mountain and the Bårddejiegŋa glacier was something I had not experienced before. The terrain looked like it had been hit by an artillery strike. My legs were already fatigued as I advanced slowly through steep ridges and mounds of unstable rock, but I finally reached the glacial stream near the glacier’s snout.
I started looking for a safe spot to get across. The milky glacial water wasn’t particularly deep, but it was flowing faster than the stream I had crossed the previous day, and it felt even colder. After crossing, I was ready to set up camp. I found a level site between two smaller streams nearby.
Day 4: Through Lullihavágge to Sarvesvágge
It had begun raining at some point during the night. I was out of cell range, but my inReach forecast suggested the rain would end around noon, so I decided to wait a bit. By noon it had not stopped, and I didn’t want to delay my departure any longer. I packed up and continued.
The terrain was mostly rocky, and the surrounding peaks were once again hidden by clouds.
I aimed for the rocky Lullihavágge valley, so I could reach the Sarvesvágge valley by the evening. This section required careful route-finding. My initial plan was to descend along the eastern side of the valley. When I arrived, the eastern side looked steeper and rockier than the western side. As the rocks were wet and potentially slippery from the rain, I didn’t want to take any unnecessary risks and I decided to cross over the stream at the bottom of the valley to the western side. The western side had more plateaued sections, which made the descent feel safer. Looking back, this could have been a very sketchy section if I hadn’t altered my route.
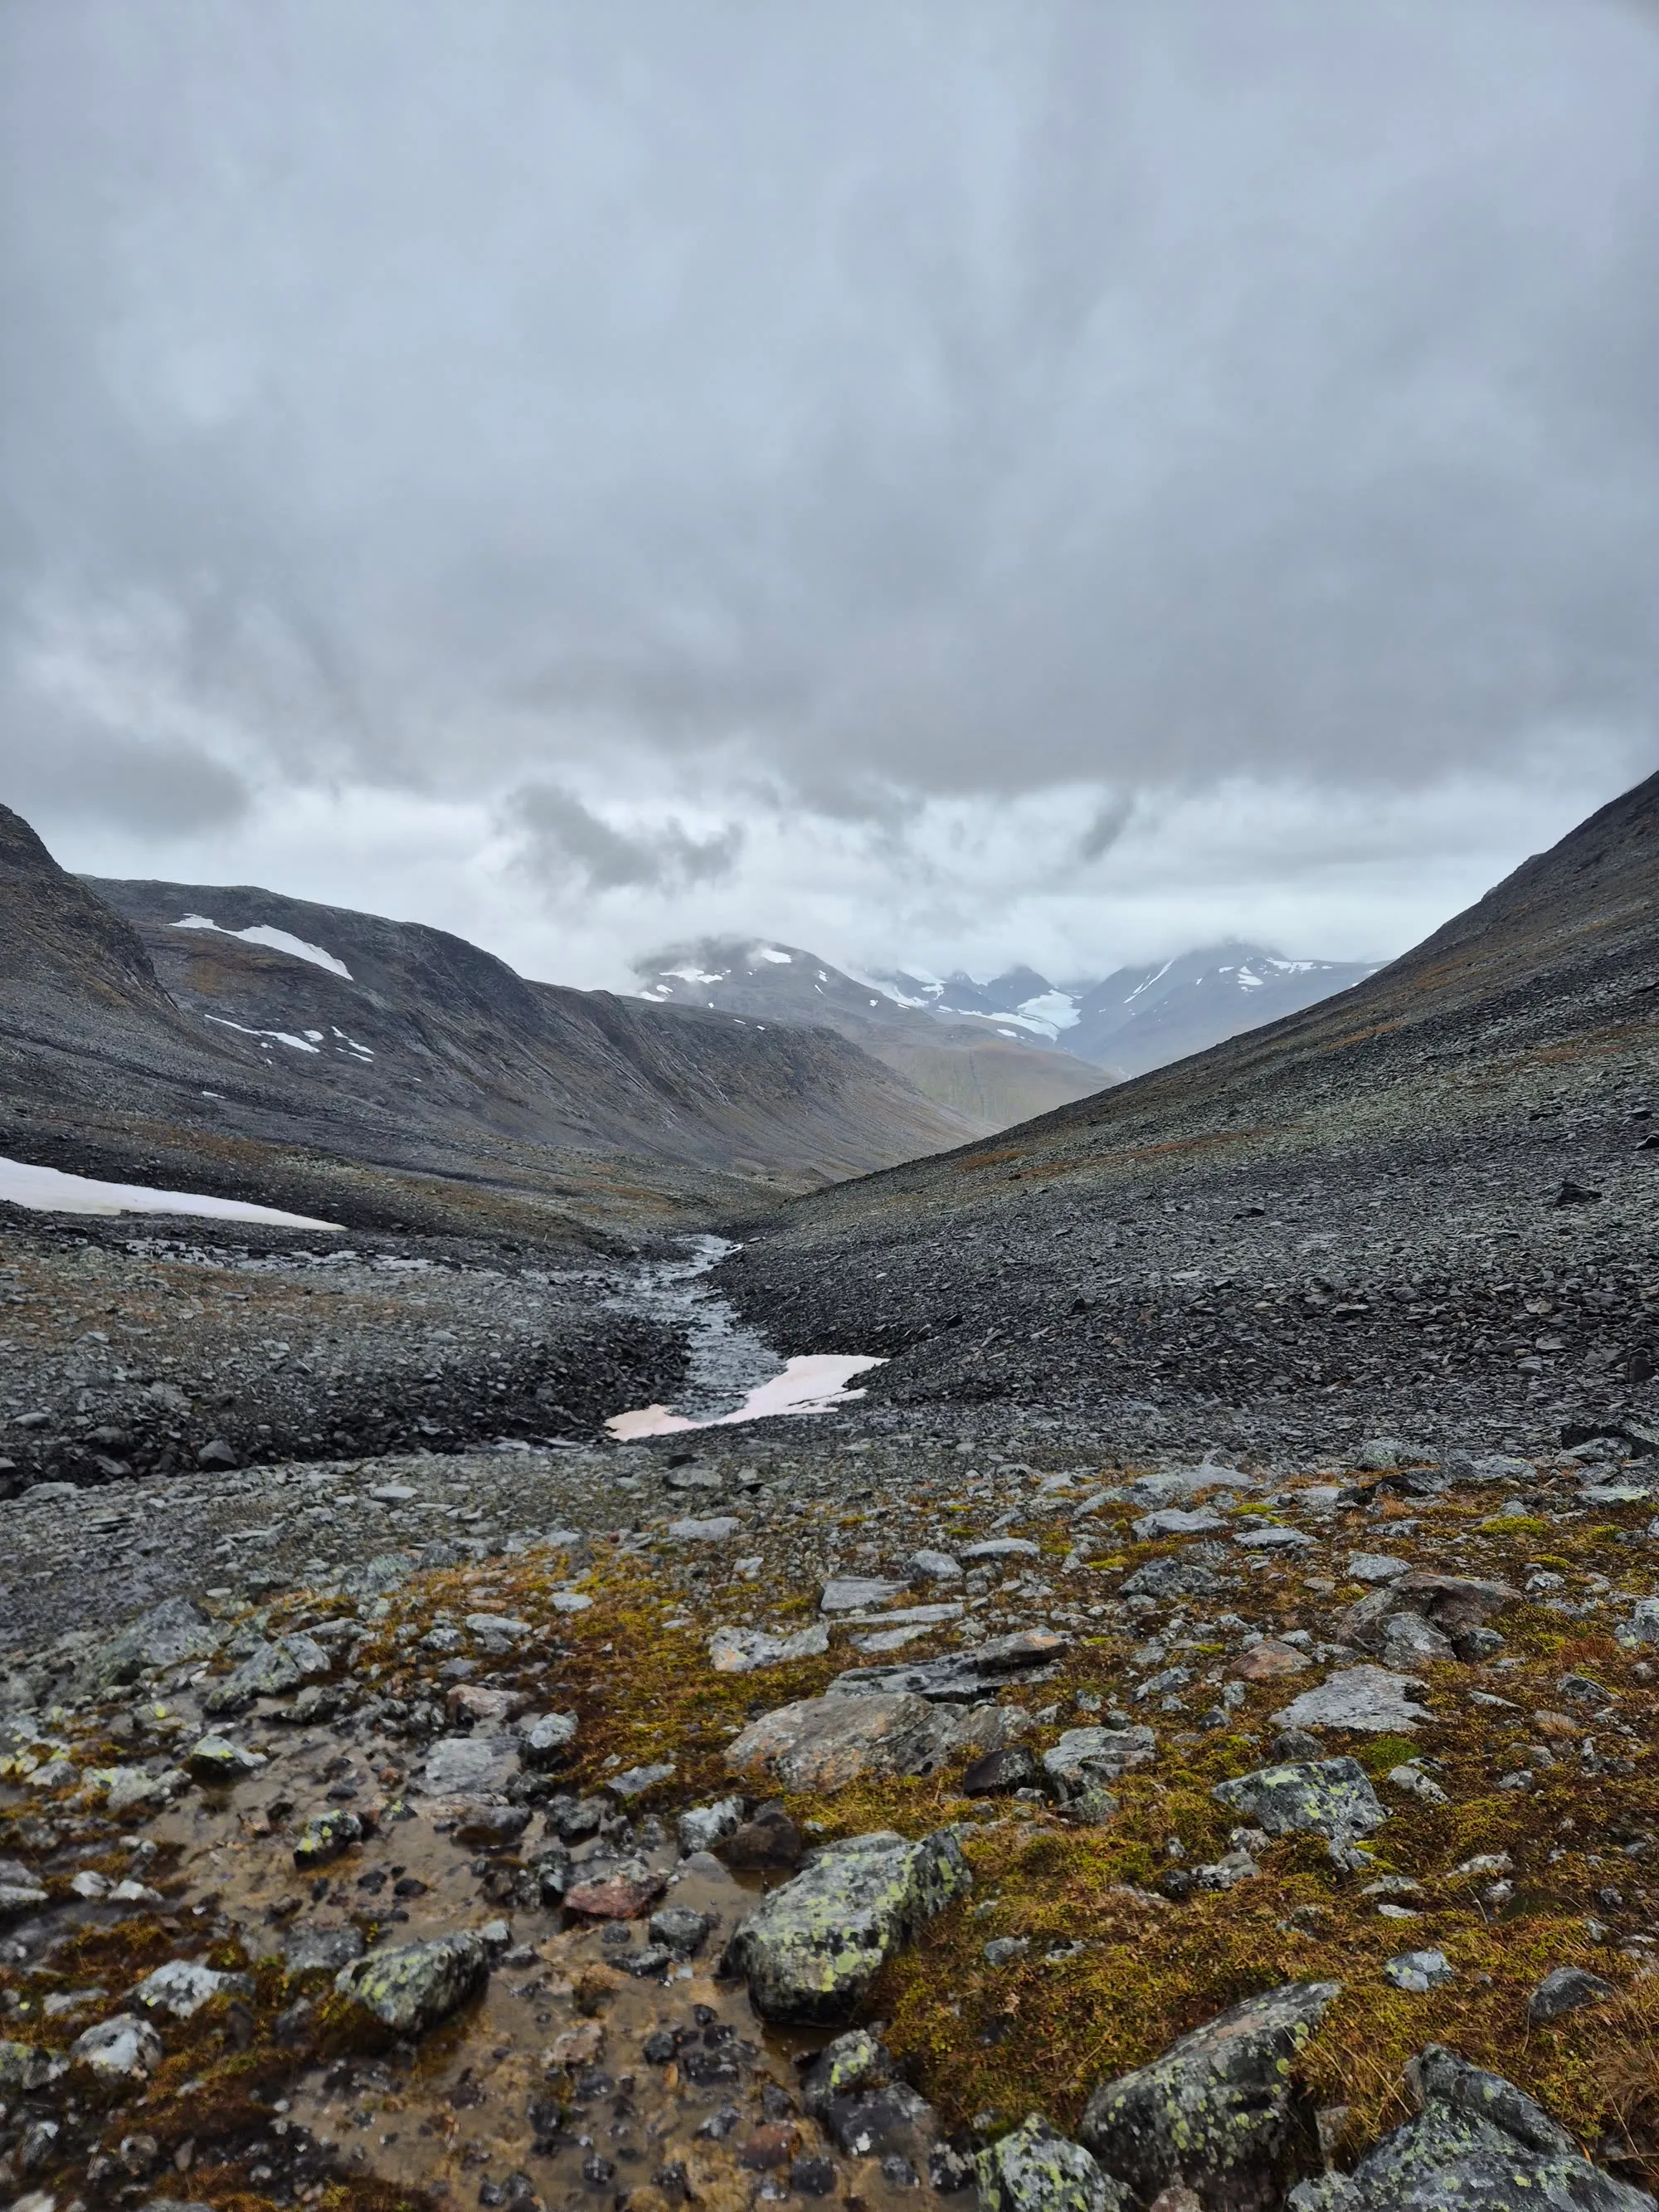
The northern parts of Lullihavágge opened up a view of the towering mountains along Sarvesvágge as the weather started to clear. This gave me some hope for the planned crossing of the Sarvesjåhkå river the following day. After a stream crossing back to the eastern side and some bushwhacking, I soon reached the valley floor. I decided to inspect the Sarvesjåhkå before setting up camp. I measured the depth along the bank with my trekking pole, and decided that if it did not rain during the night, the river should be safe to cross in the morning.
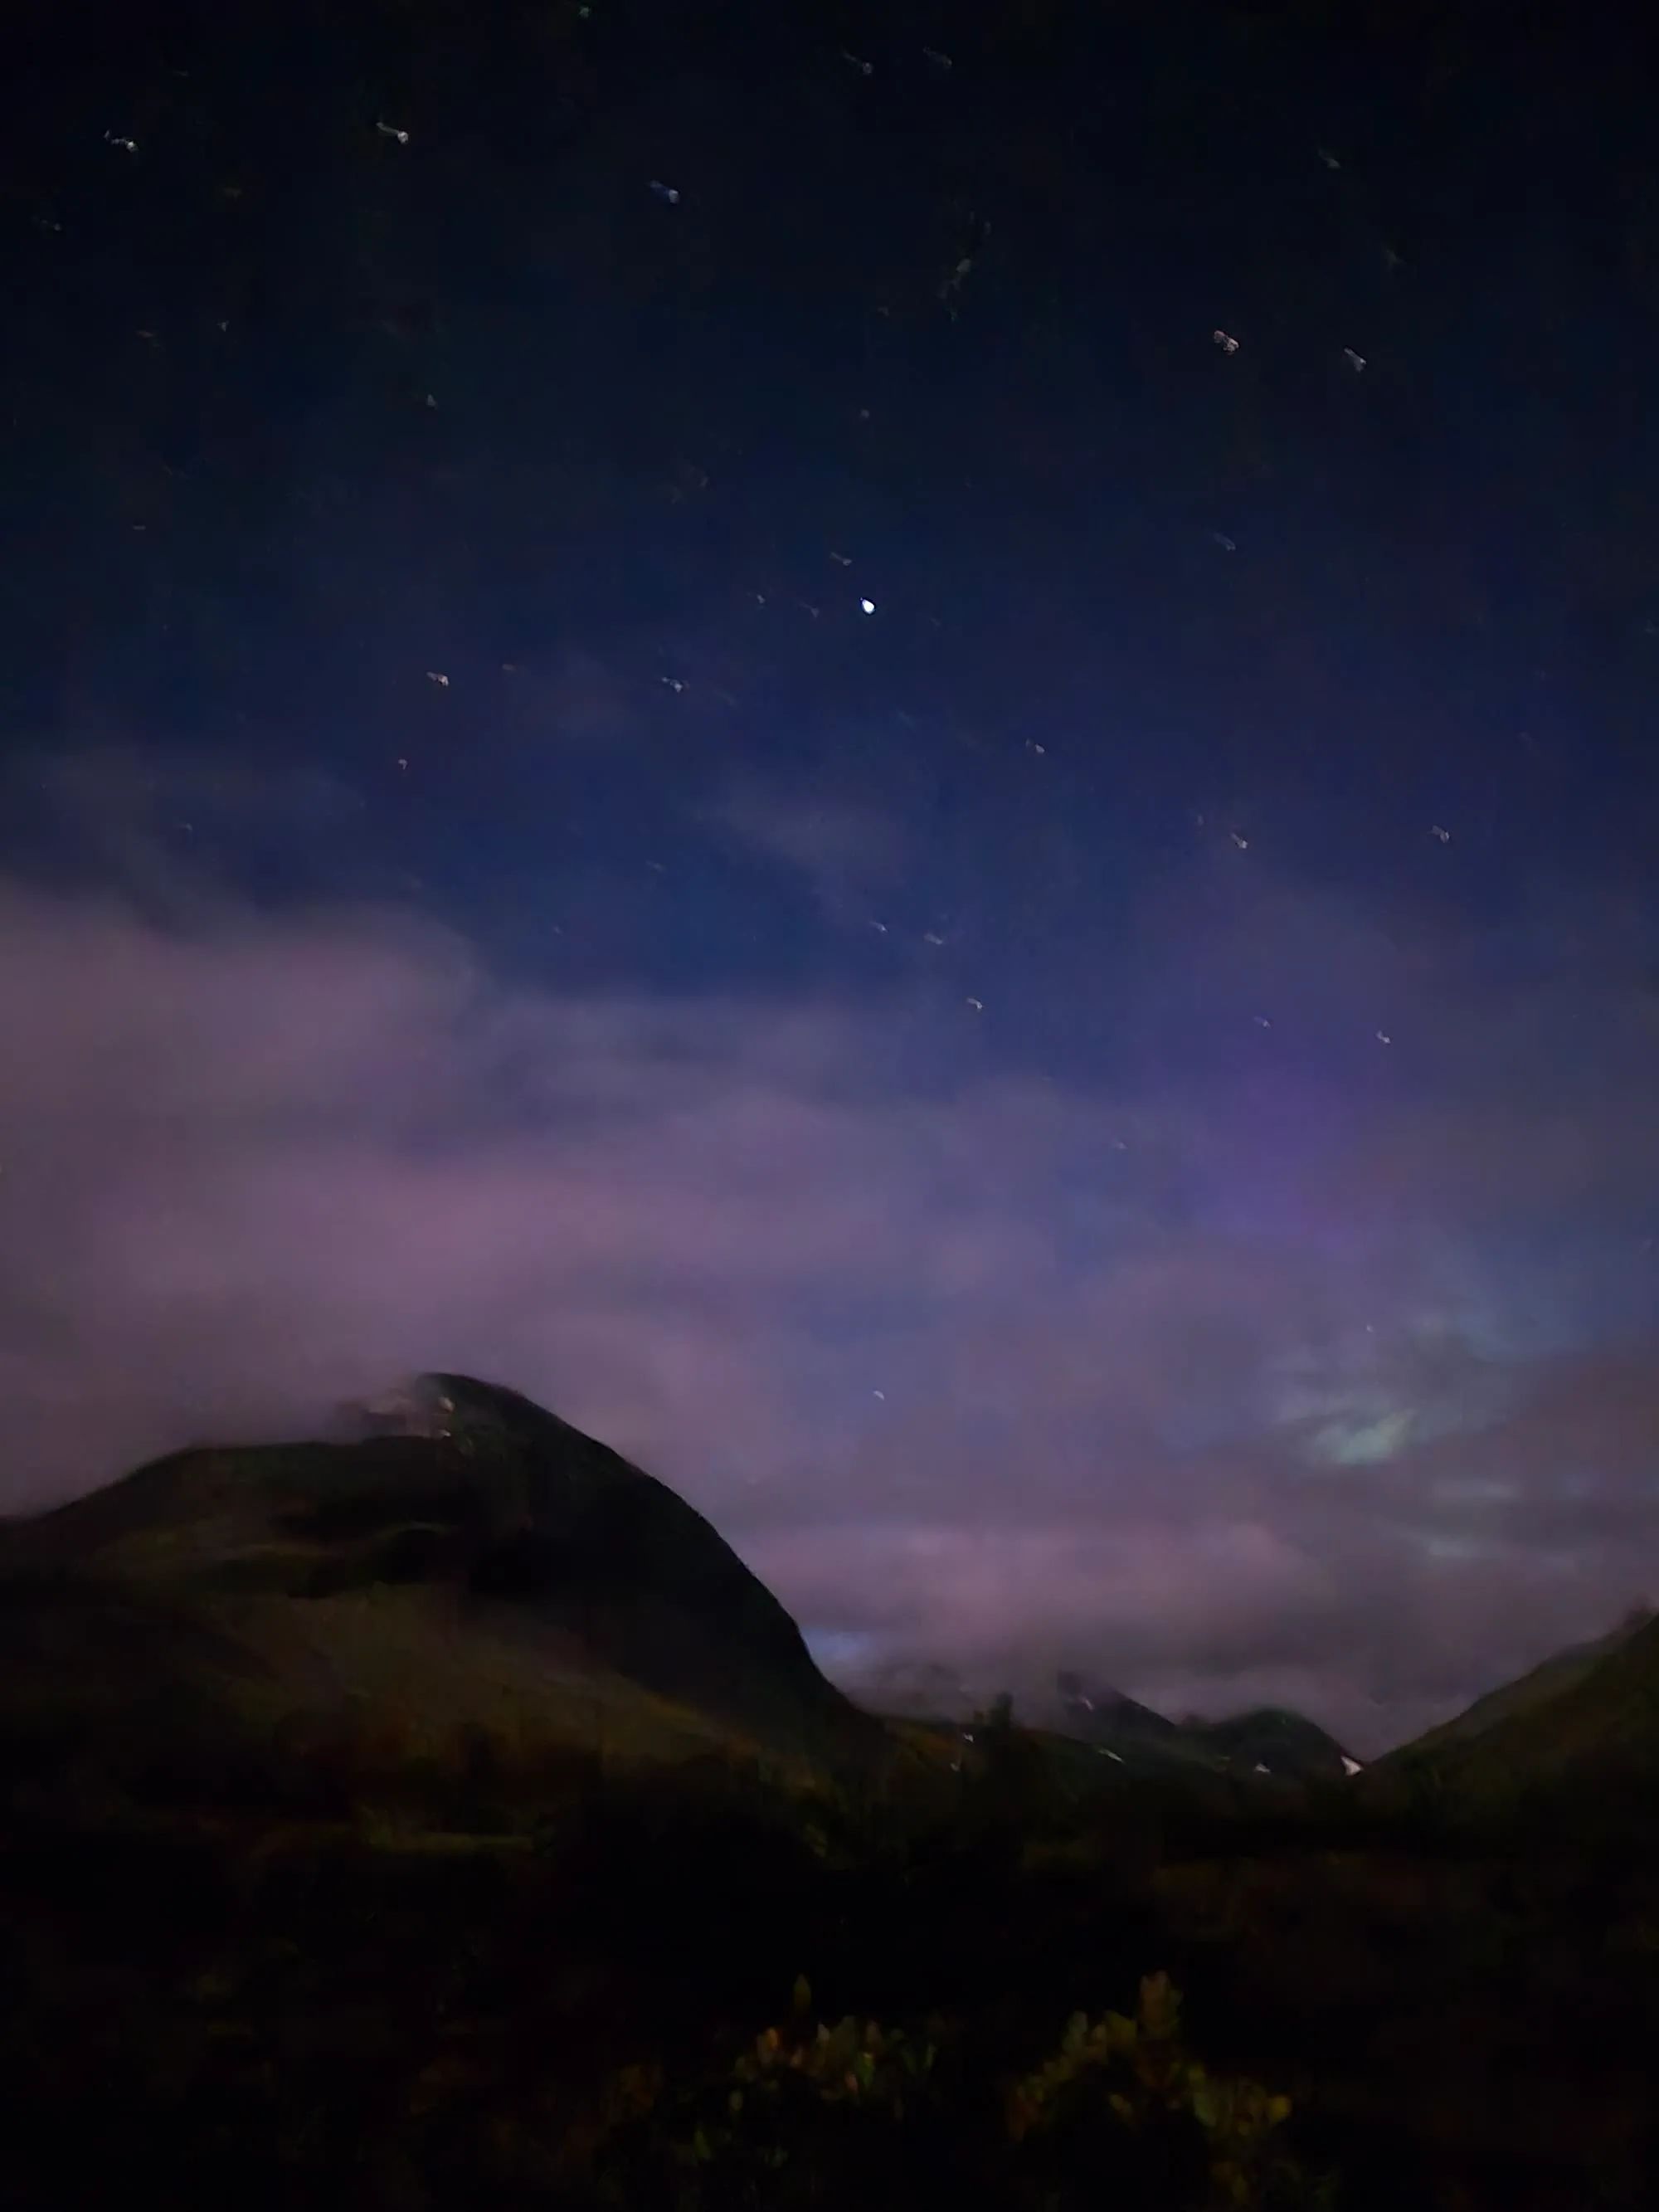
Day 5: Wading Sarvesjåhkå and Rapaälven
The following morning the Sarvesjåhkå had dropped by approximately 10 cm3.9 in. I found a route across where the water did not reach above my knees. The water level and clear weather gave me hope that I would also be able to cross the Rapaälven (Ráhpajåhkå).
But first, I needed to bushwhack for 4 km2.5 mi.
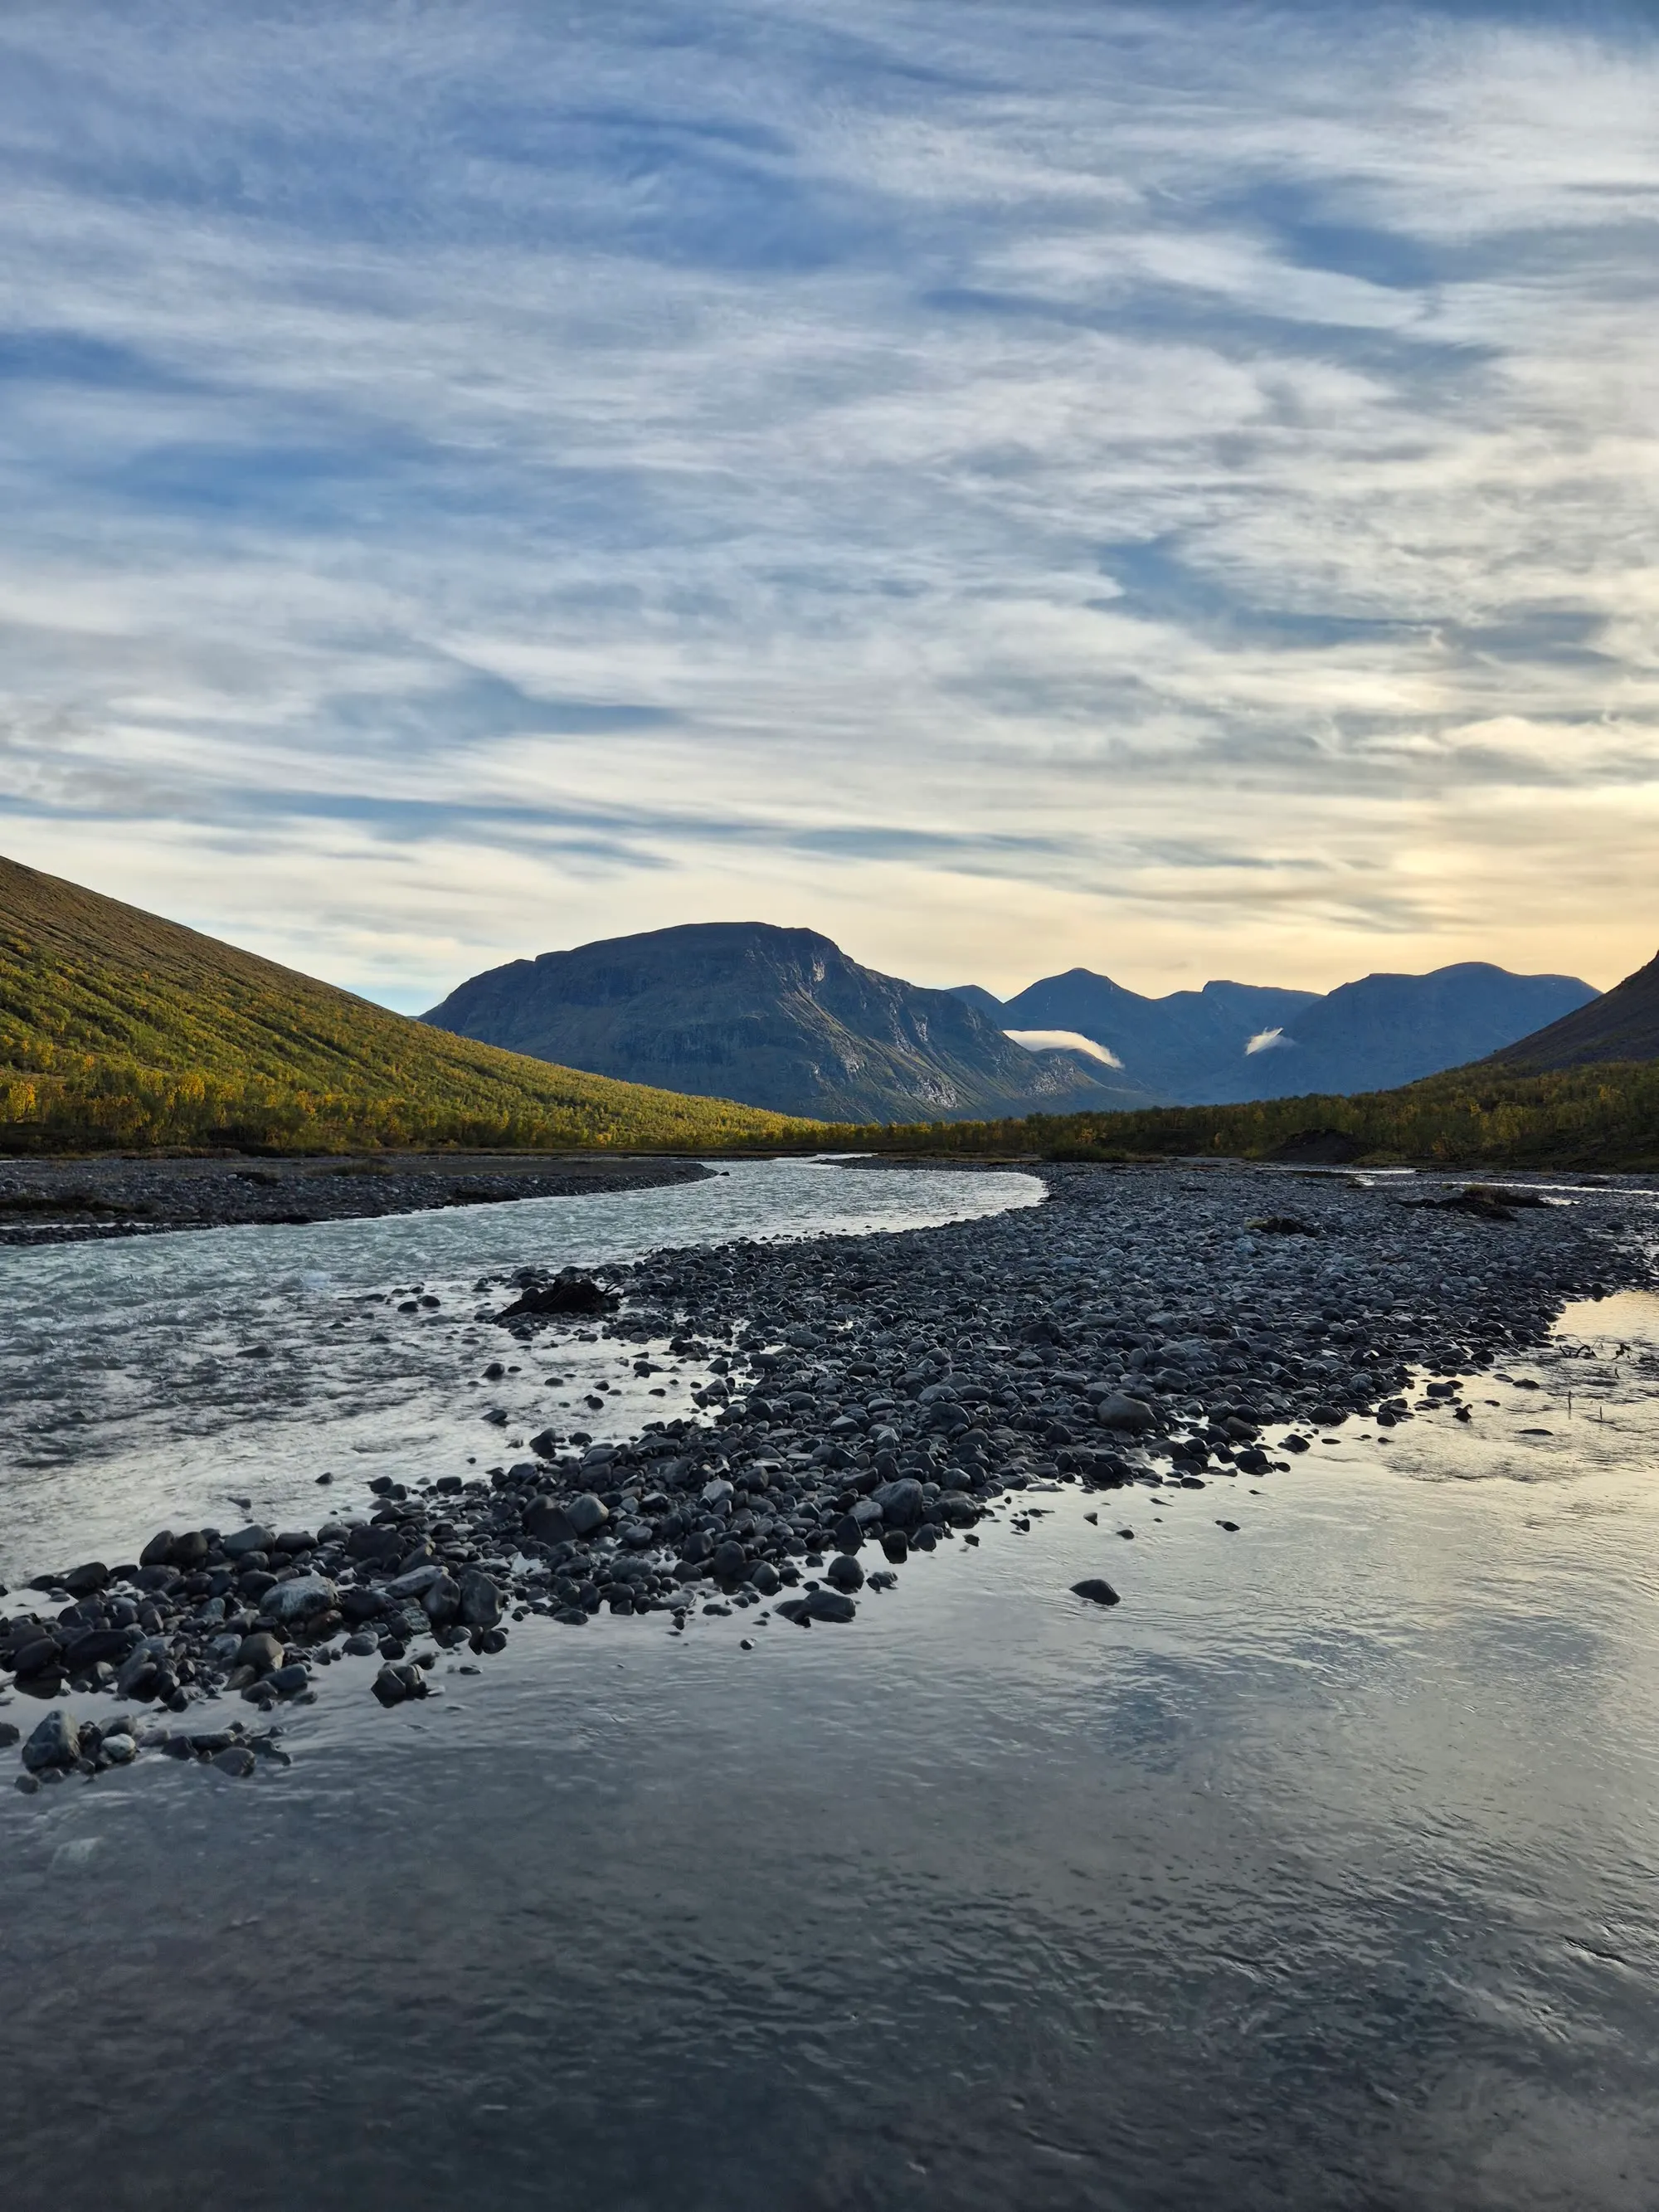
When I reached the Rapaälven at the Tielma ford (Tielmavadet), it looked manageable at first glance. As part of my preparation I had read several reports about wading across it, so I had a general idea of where the safest crossing points might be. Even so, I took my time. I searched for the widest section, examined the banks with my trekking poles and assessed the safest entry and exit points.
My hiking shoes were already soaked from the bushwhacking and bogs, so I kept them on rather than changing into my clogs. They offered slightly better support, and a fall here could have serious consequences.
I unbuckled my backpack’s hip belt and sternum strap so I could get out of the pack if I went in. I began wading facing upstream, one step at a time, using one trekking pole for balance and the other to scout the riverbed ahead. The first channel was relatively easy: the water came up to my knee, but no further. I passed the small island in the middle of Tielma on the south side to cross the last channel. The widest section of this channel was narrower and deeper than the first. For a few steps the water rose slightly above my knee, but my footing held steady and I was soon across.
From here, my original plan was to climb higher and camp at Snávvájávrre, but after some consideration I decided to stay in the valley and camp near Skårkistugan. It was still early in the day, but the sun was shining, so I could dry my gear properly and my legs wouldn’t mind some extra rest.
Later that day, another solo hiker arrived at the site. After several days of near silence, it was nice to hang out and share stories with someone. I had seen only one other person since heading deeper into Sarek.
Day 6: Along Rapadalen
Before the trip I had read about the route options along the north side of Rapadalen. The blog post suggested that the path along the riverbank would be both the most scenic and the easiest option, so my first priority of the day was to find it. It didn’t take long. After days of boulders, bogs and bushwhacking, I could finally look around instead of at my feet. This was the fastest section of the entire hike.
After about 7 km4.3 mi along the river I reached the delta of Alep Vássjájågåsj and followed it northeast. At some point I turned east through the forest to climb above the tree line. I could not find any proper paths in this section, so it was a bit of bushwhacking at times, but according to the blog post this was still the best line to take.
Things got easier once I rose above the tree line. Looking back, the view over Rapadalen was beautiful. I could see the whole stretch I had hiked that day from above. I stopped for a quick lunch at the foot of the mountains to enjoy the view.
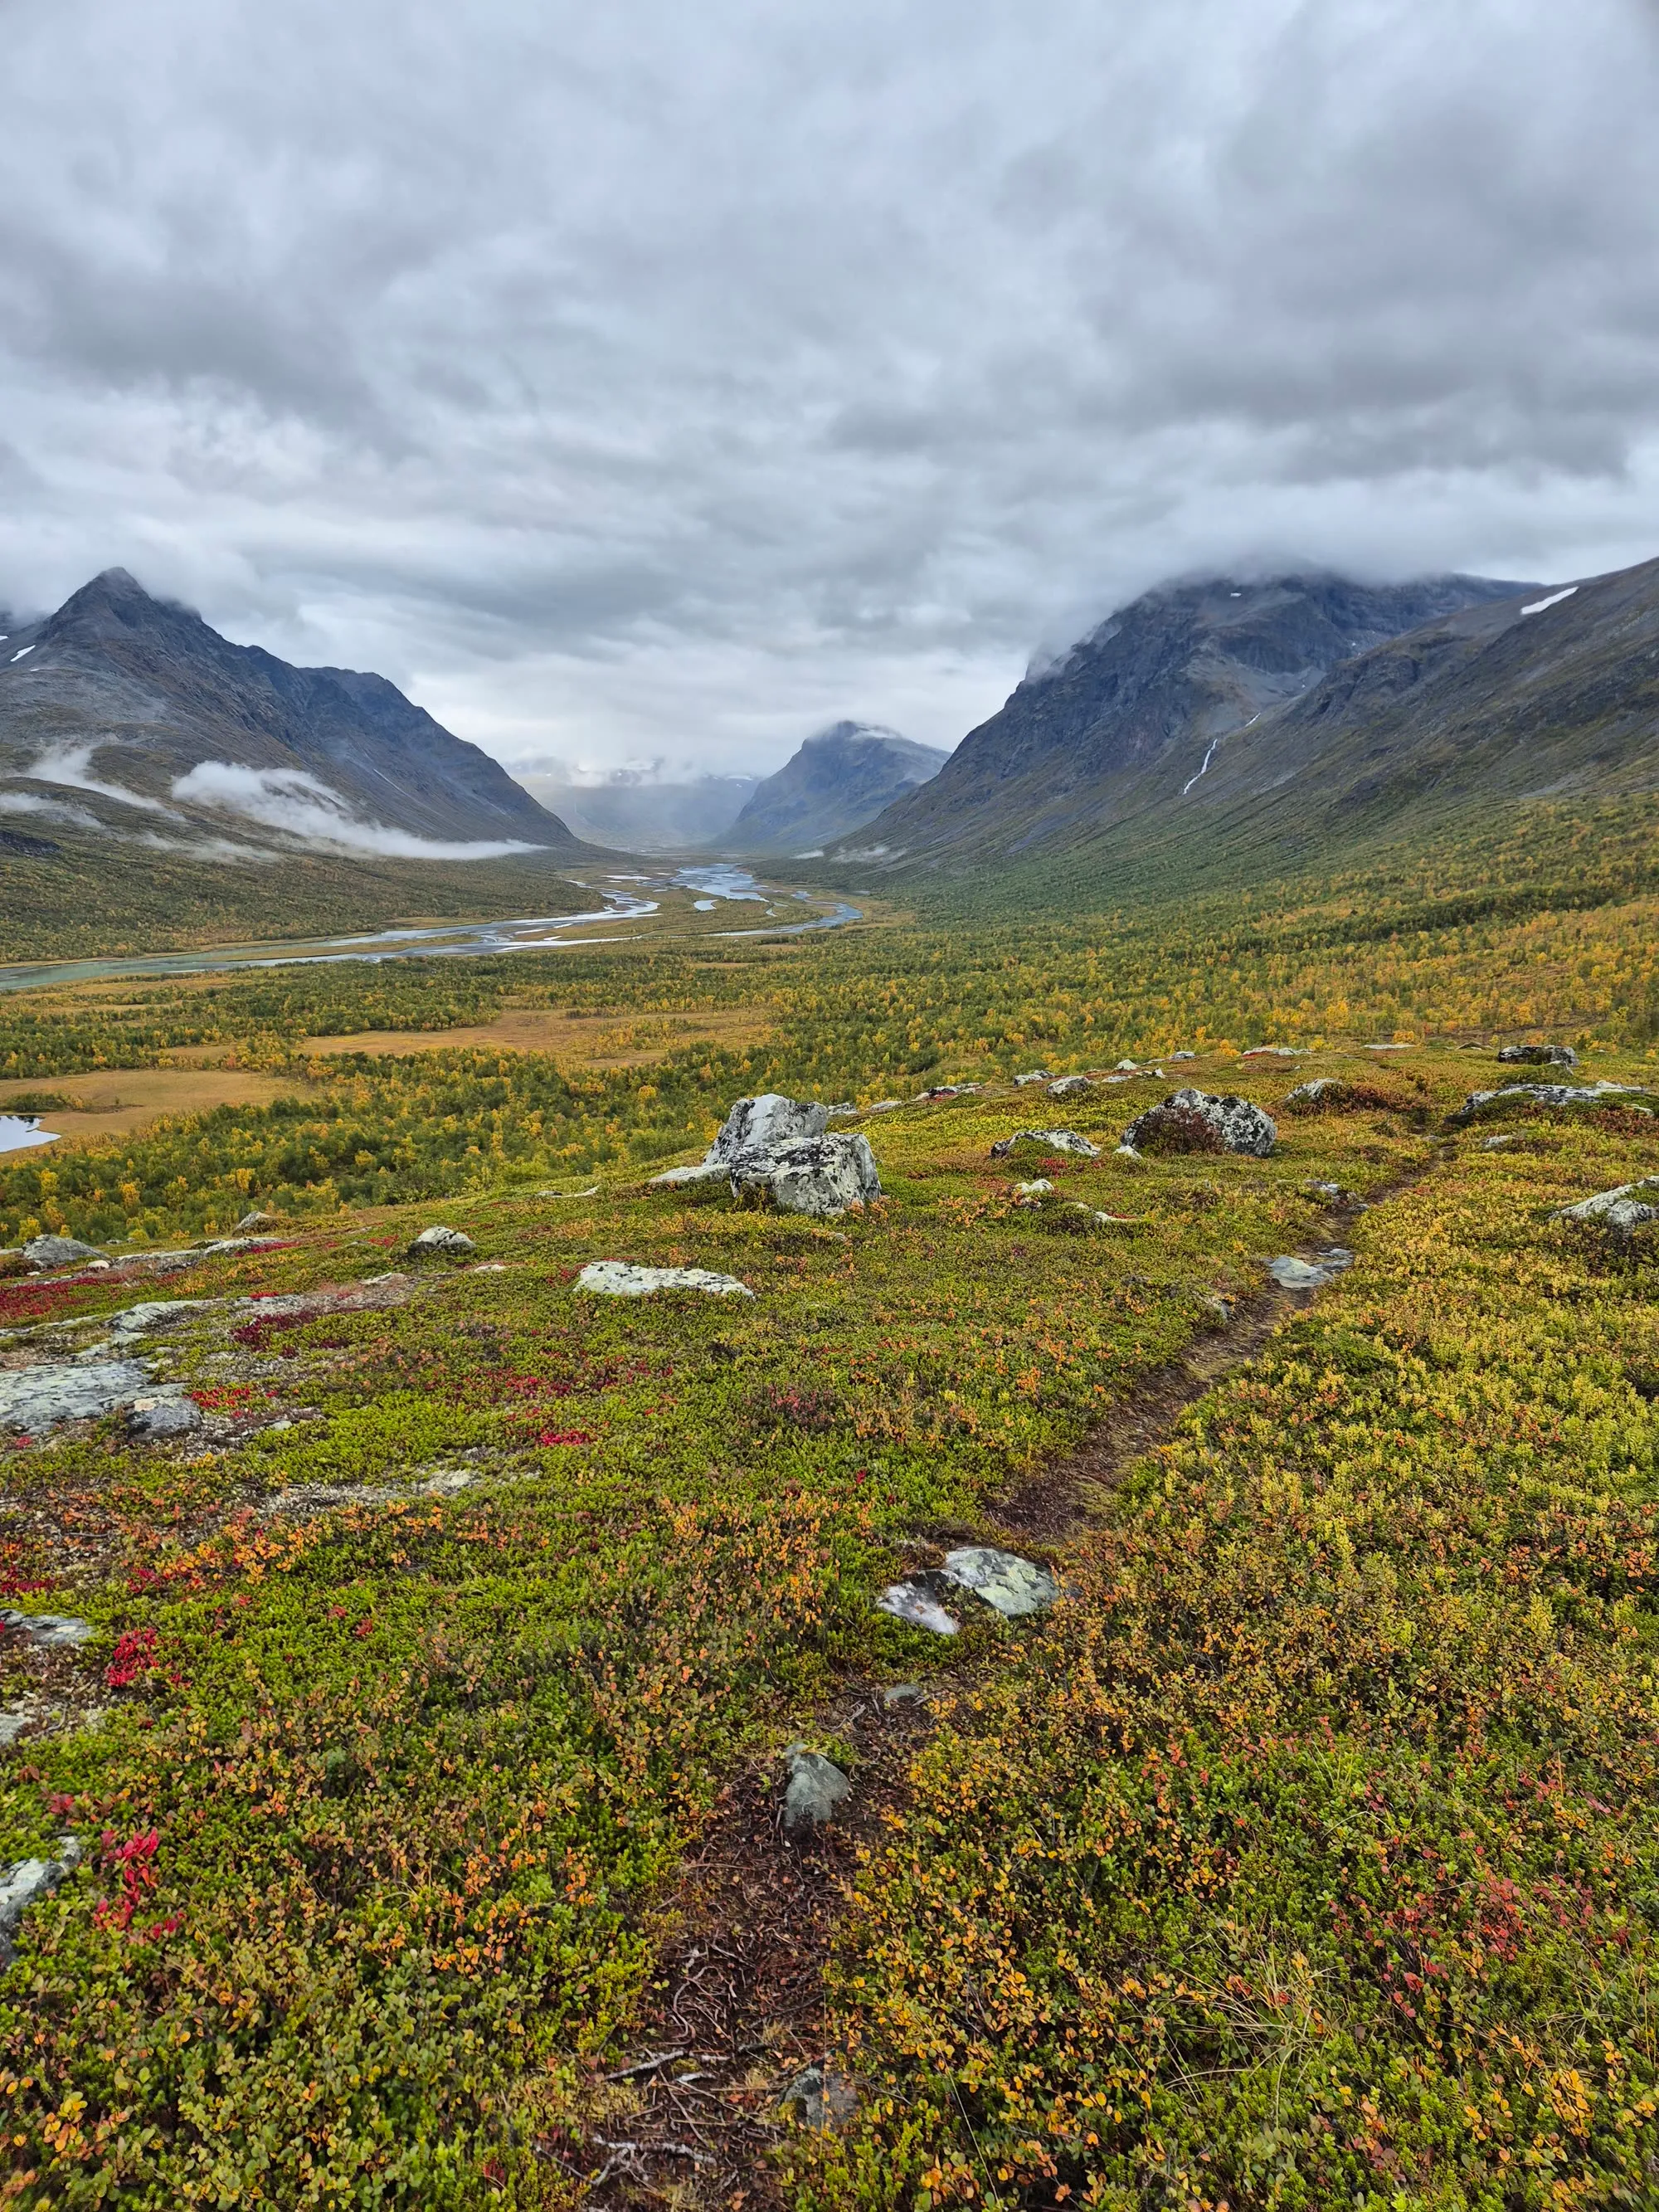
The rest of the afternoon was spent crossing the Lulep Vássjájågåsj. The river valley was quite steep and I had to look for a safe route down. On the other side of the stream the mountain opened into a wide plateau with plenty of flat ground and streams, a perfect area for camping. The clouds had already covered the surroundings and I couldn’t see the valley anymore, so I decided to pitch for the night.
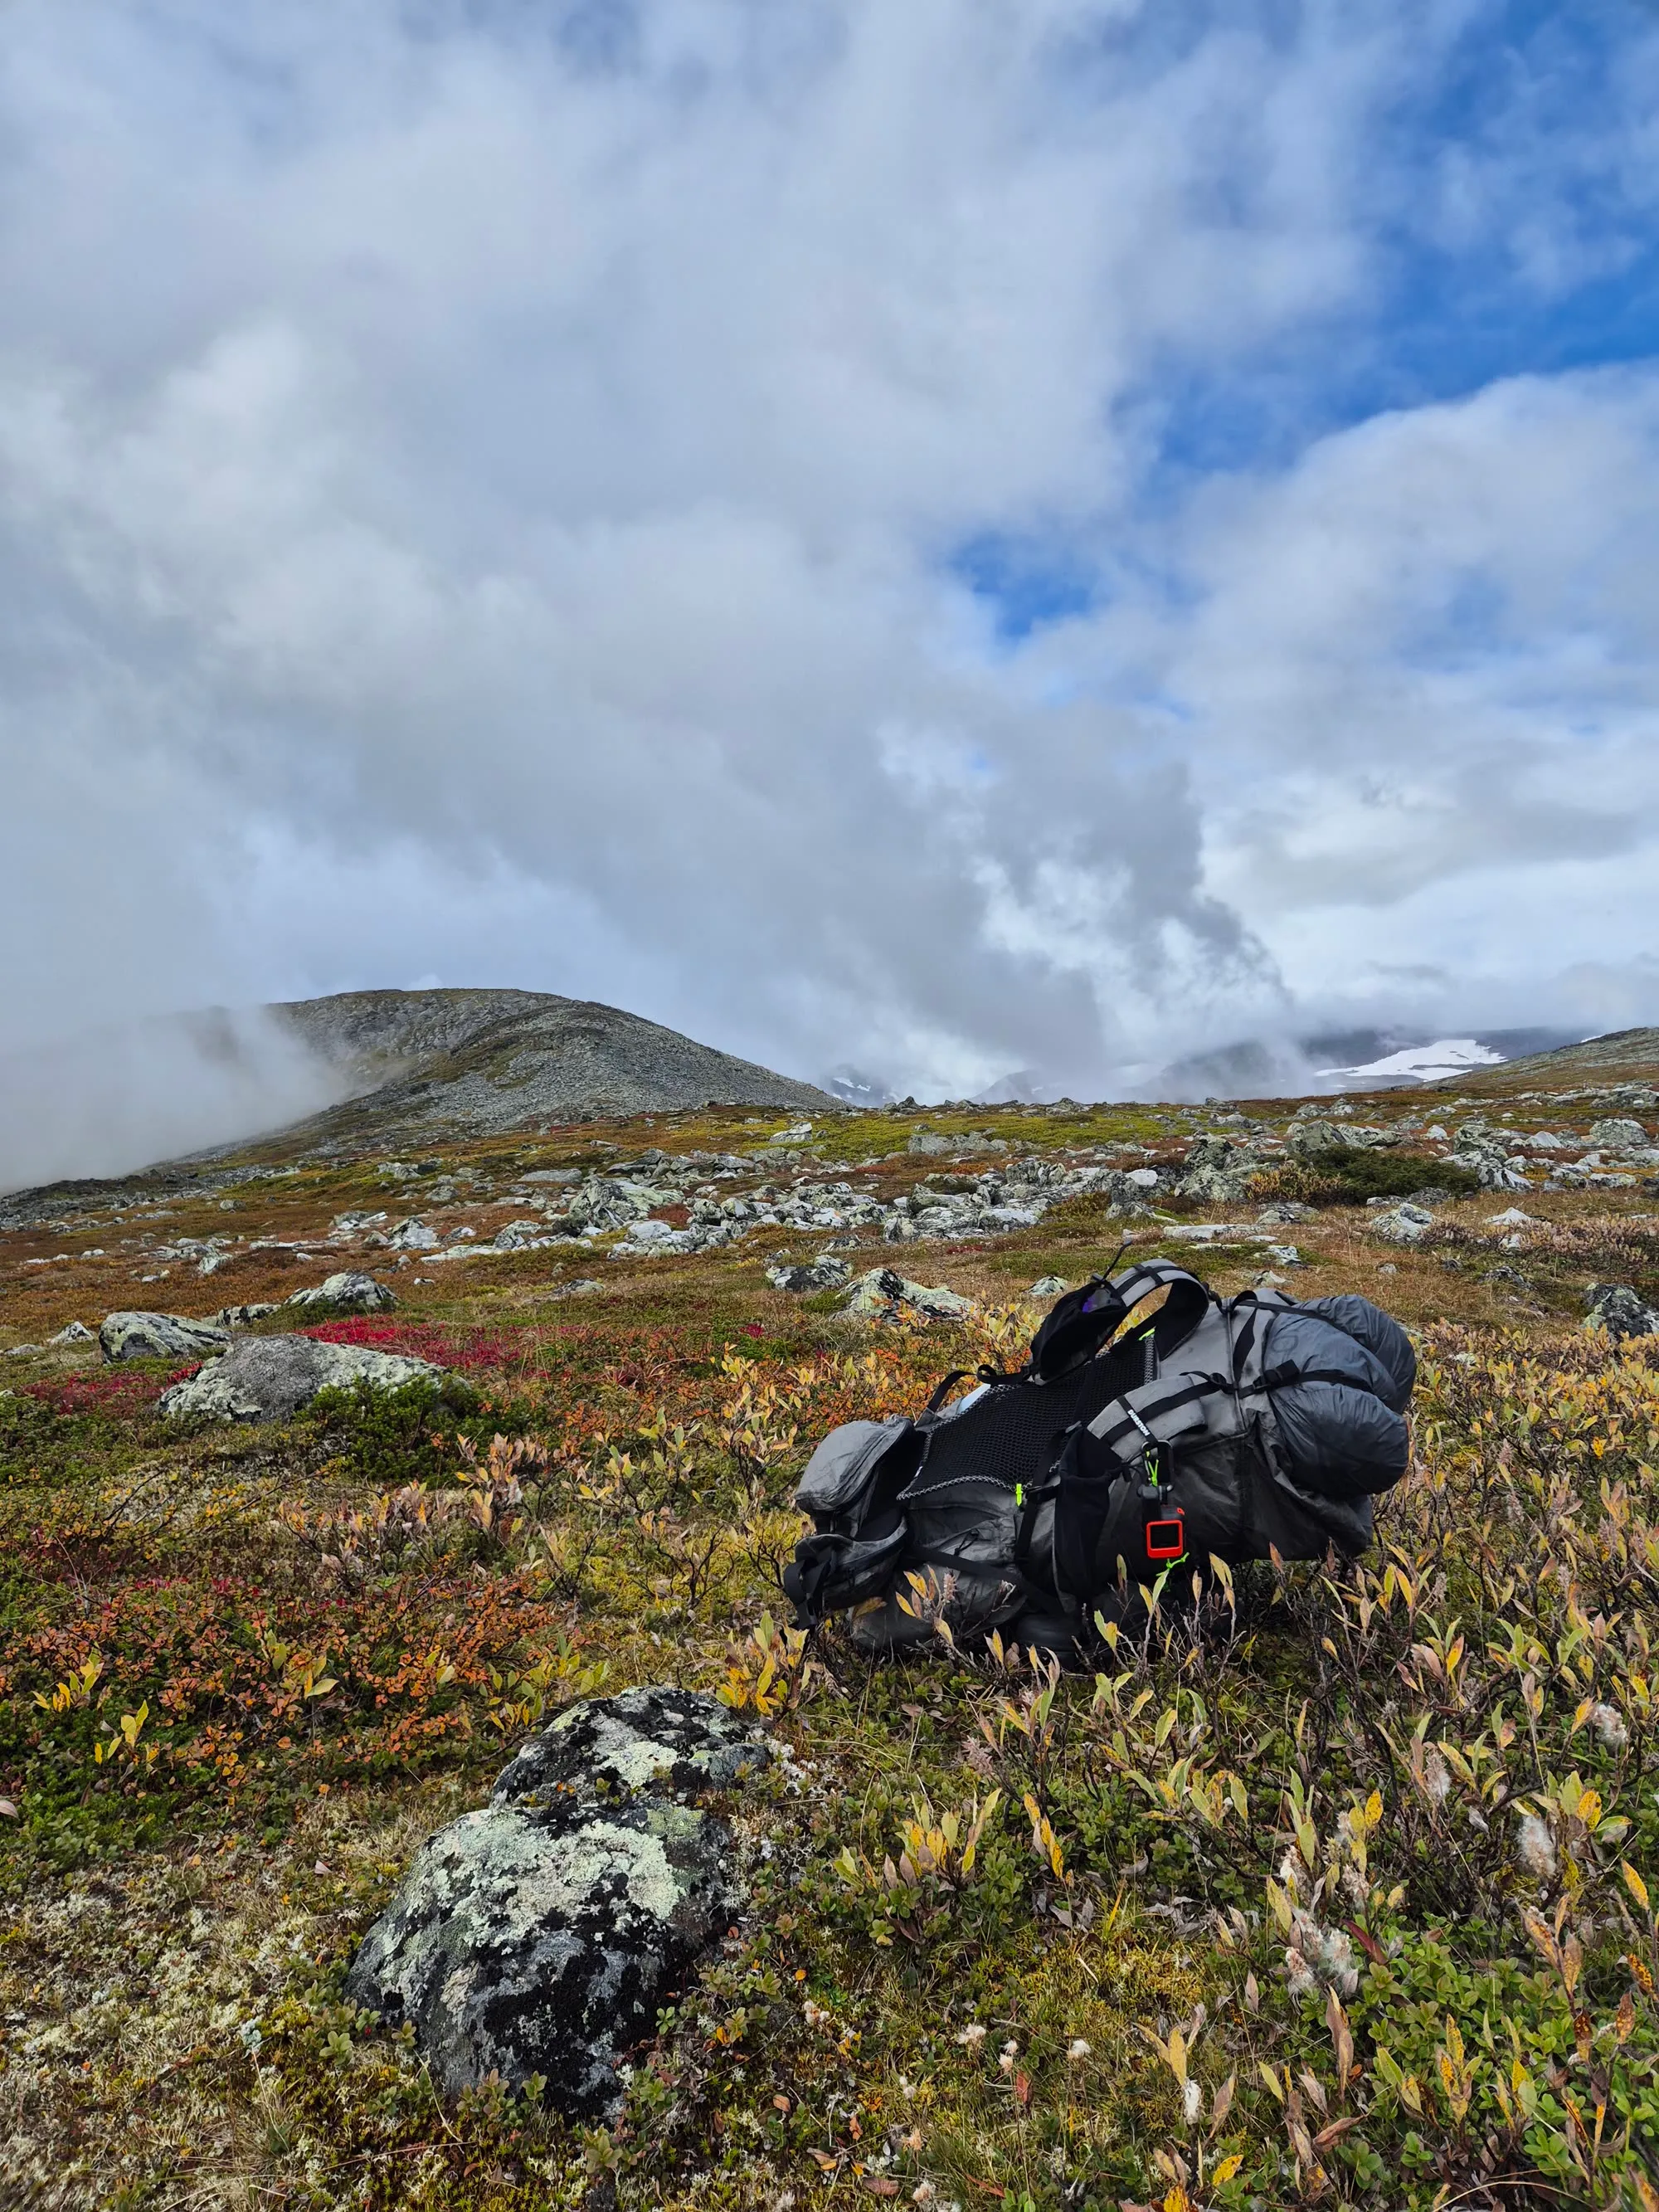
Day 7: Across Skierfe to Aktse
The day began with another valley stream crossing. Again, I took my time and chose the safest line rather than the quickest one.
For the approach to Skierfe I chose the high route, passing the north side of Suorkitjåhkkå and crossing over the southern plateau of Gierdogiesjtjåhkkå. I had read that the low route had steeper sections, so I decided against it. Thin clouds were forming along the upper slopes, which made for a beautiful walk.
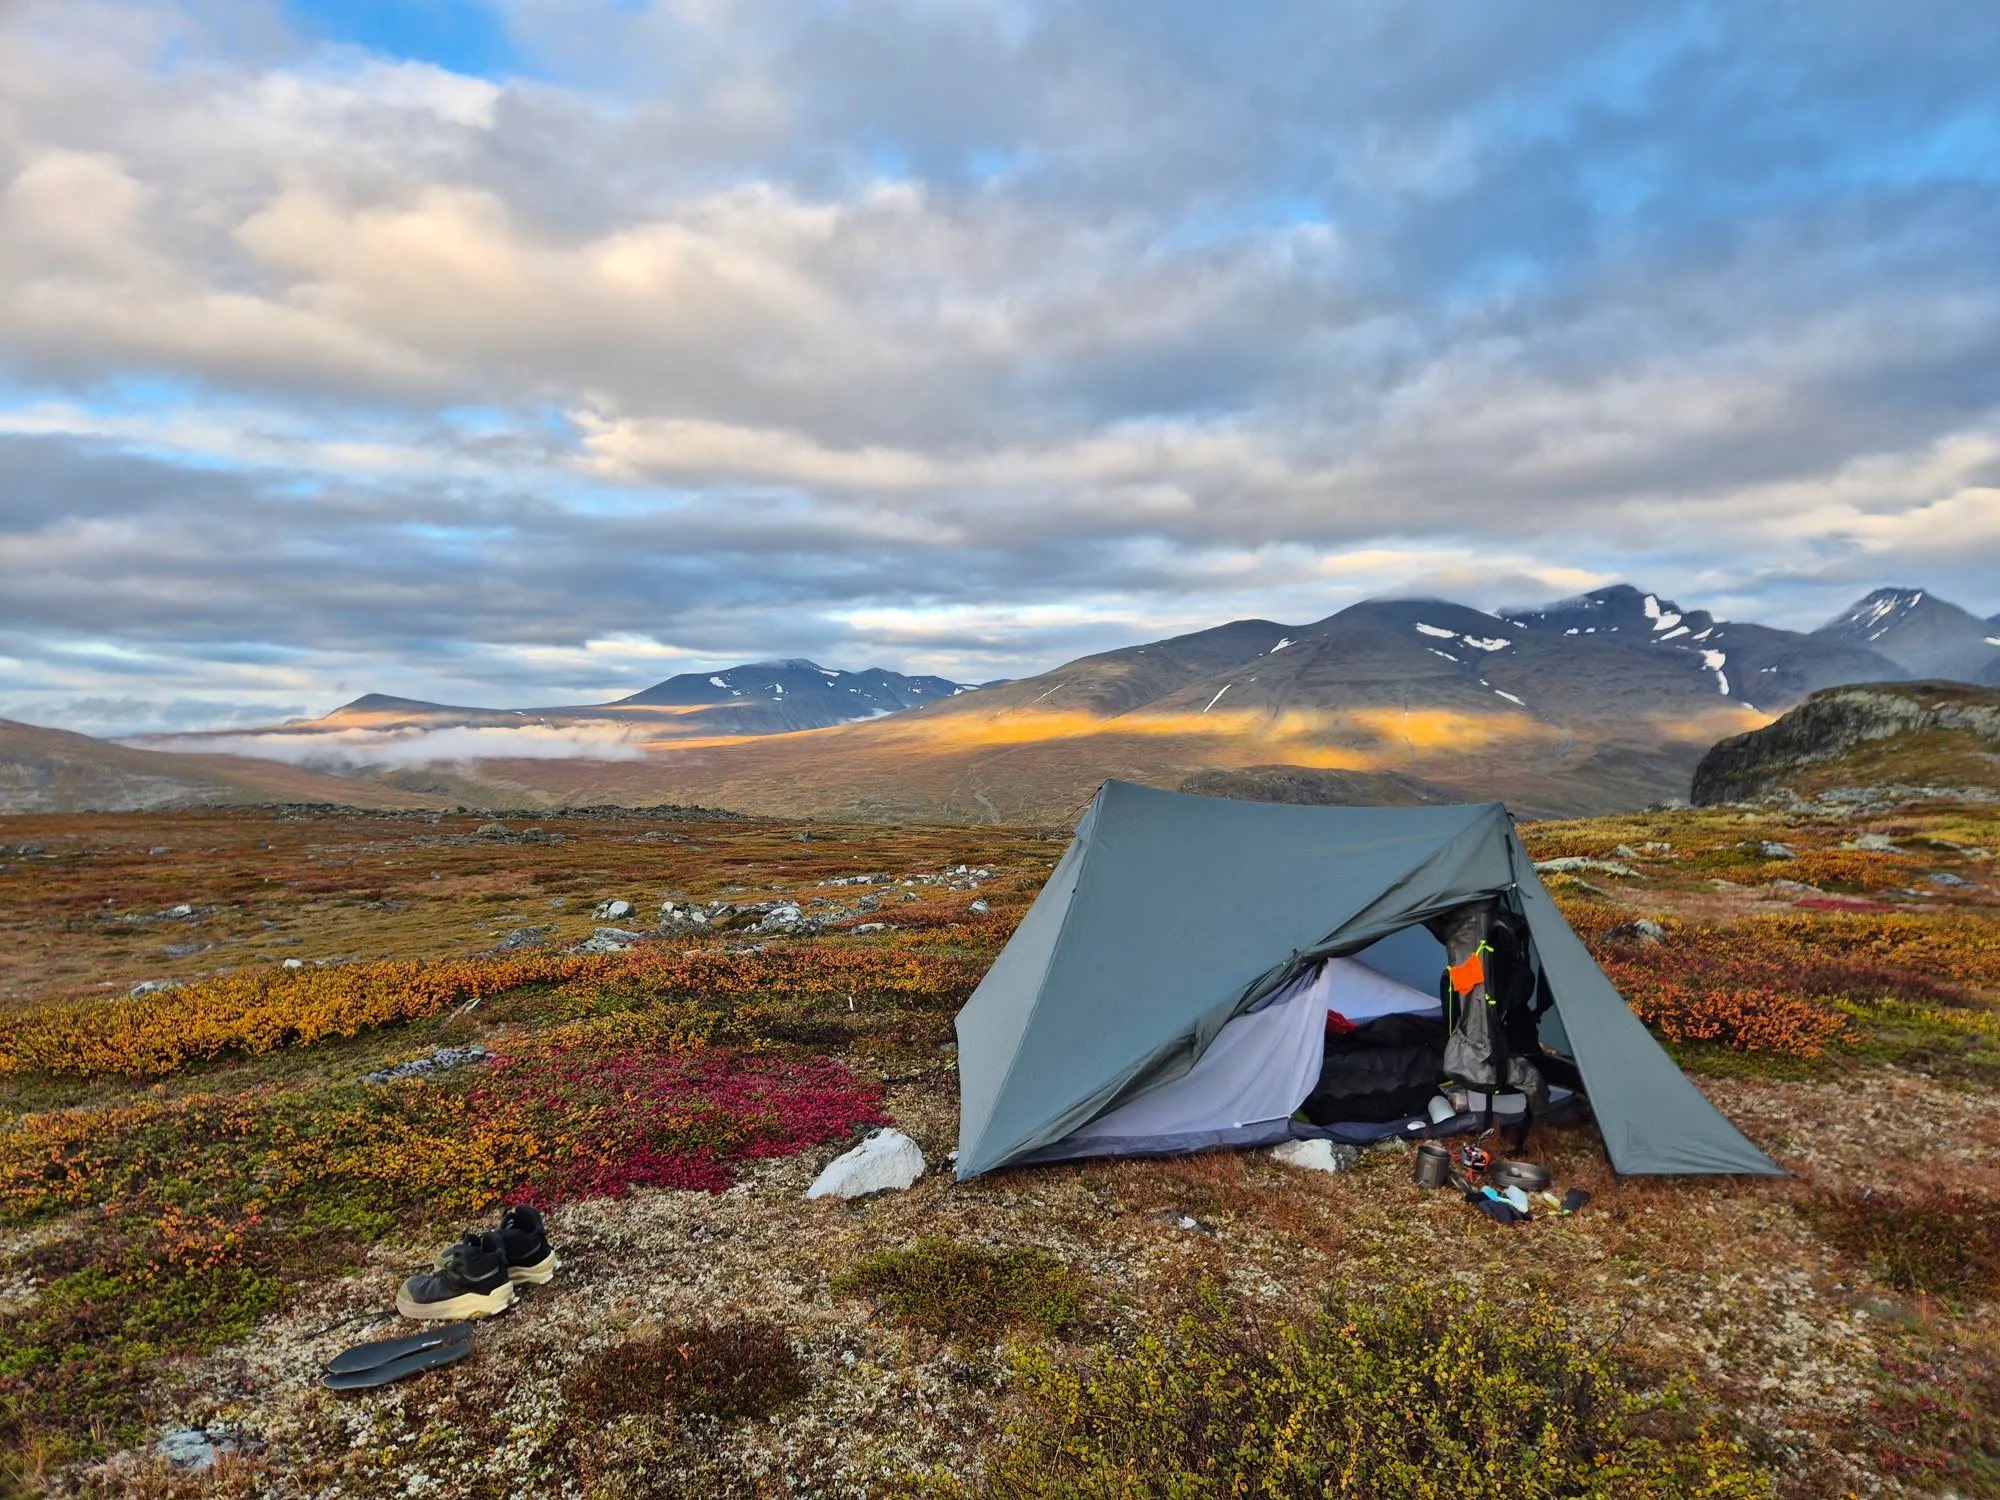
The weather cleared as I got closer to Skierfe. At the top there were a few other people, as it’s a popular detour from the Kungsleden. The Rapadalen delta spread out far below, and I could even see all the way back to Bårddetjåhkkå. I stayed for a while to take in the view, snacking on a chorizo I had been given by the solo hiker I met a few days earlier.
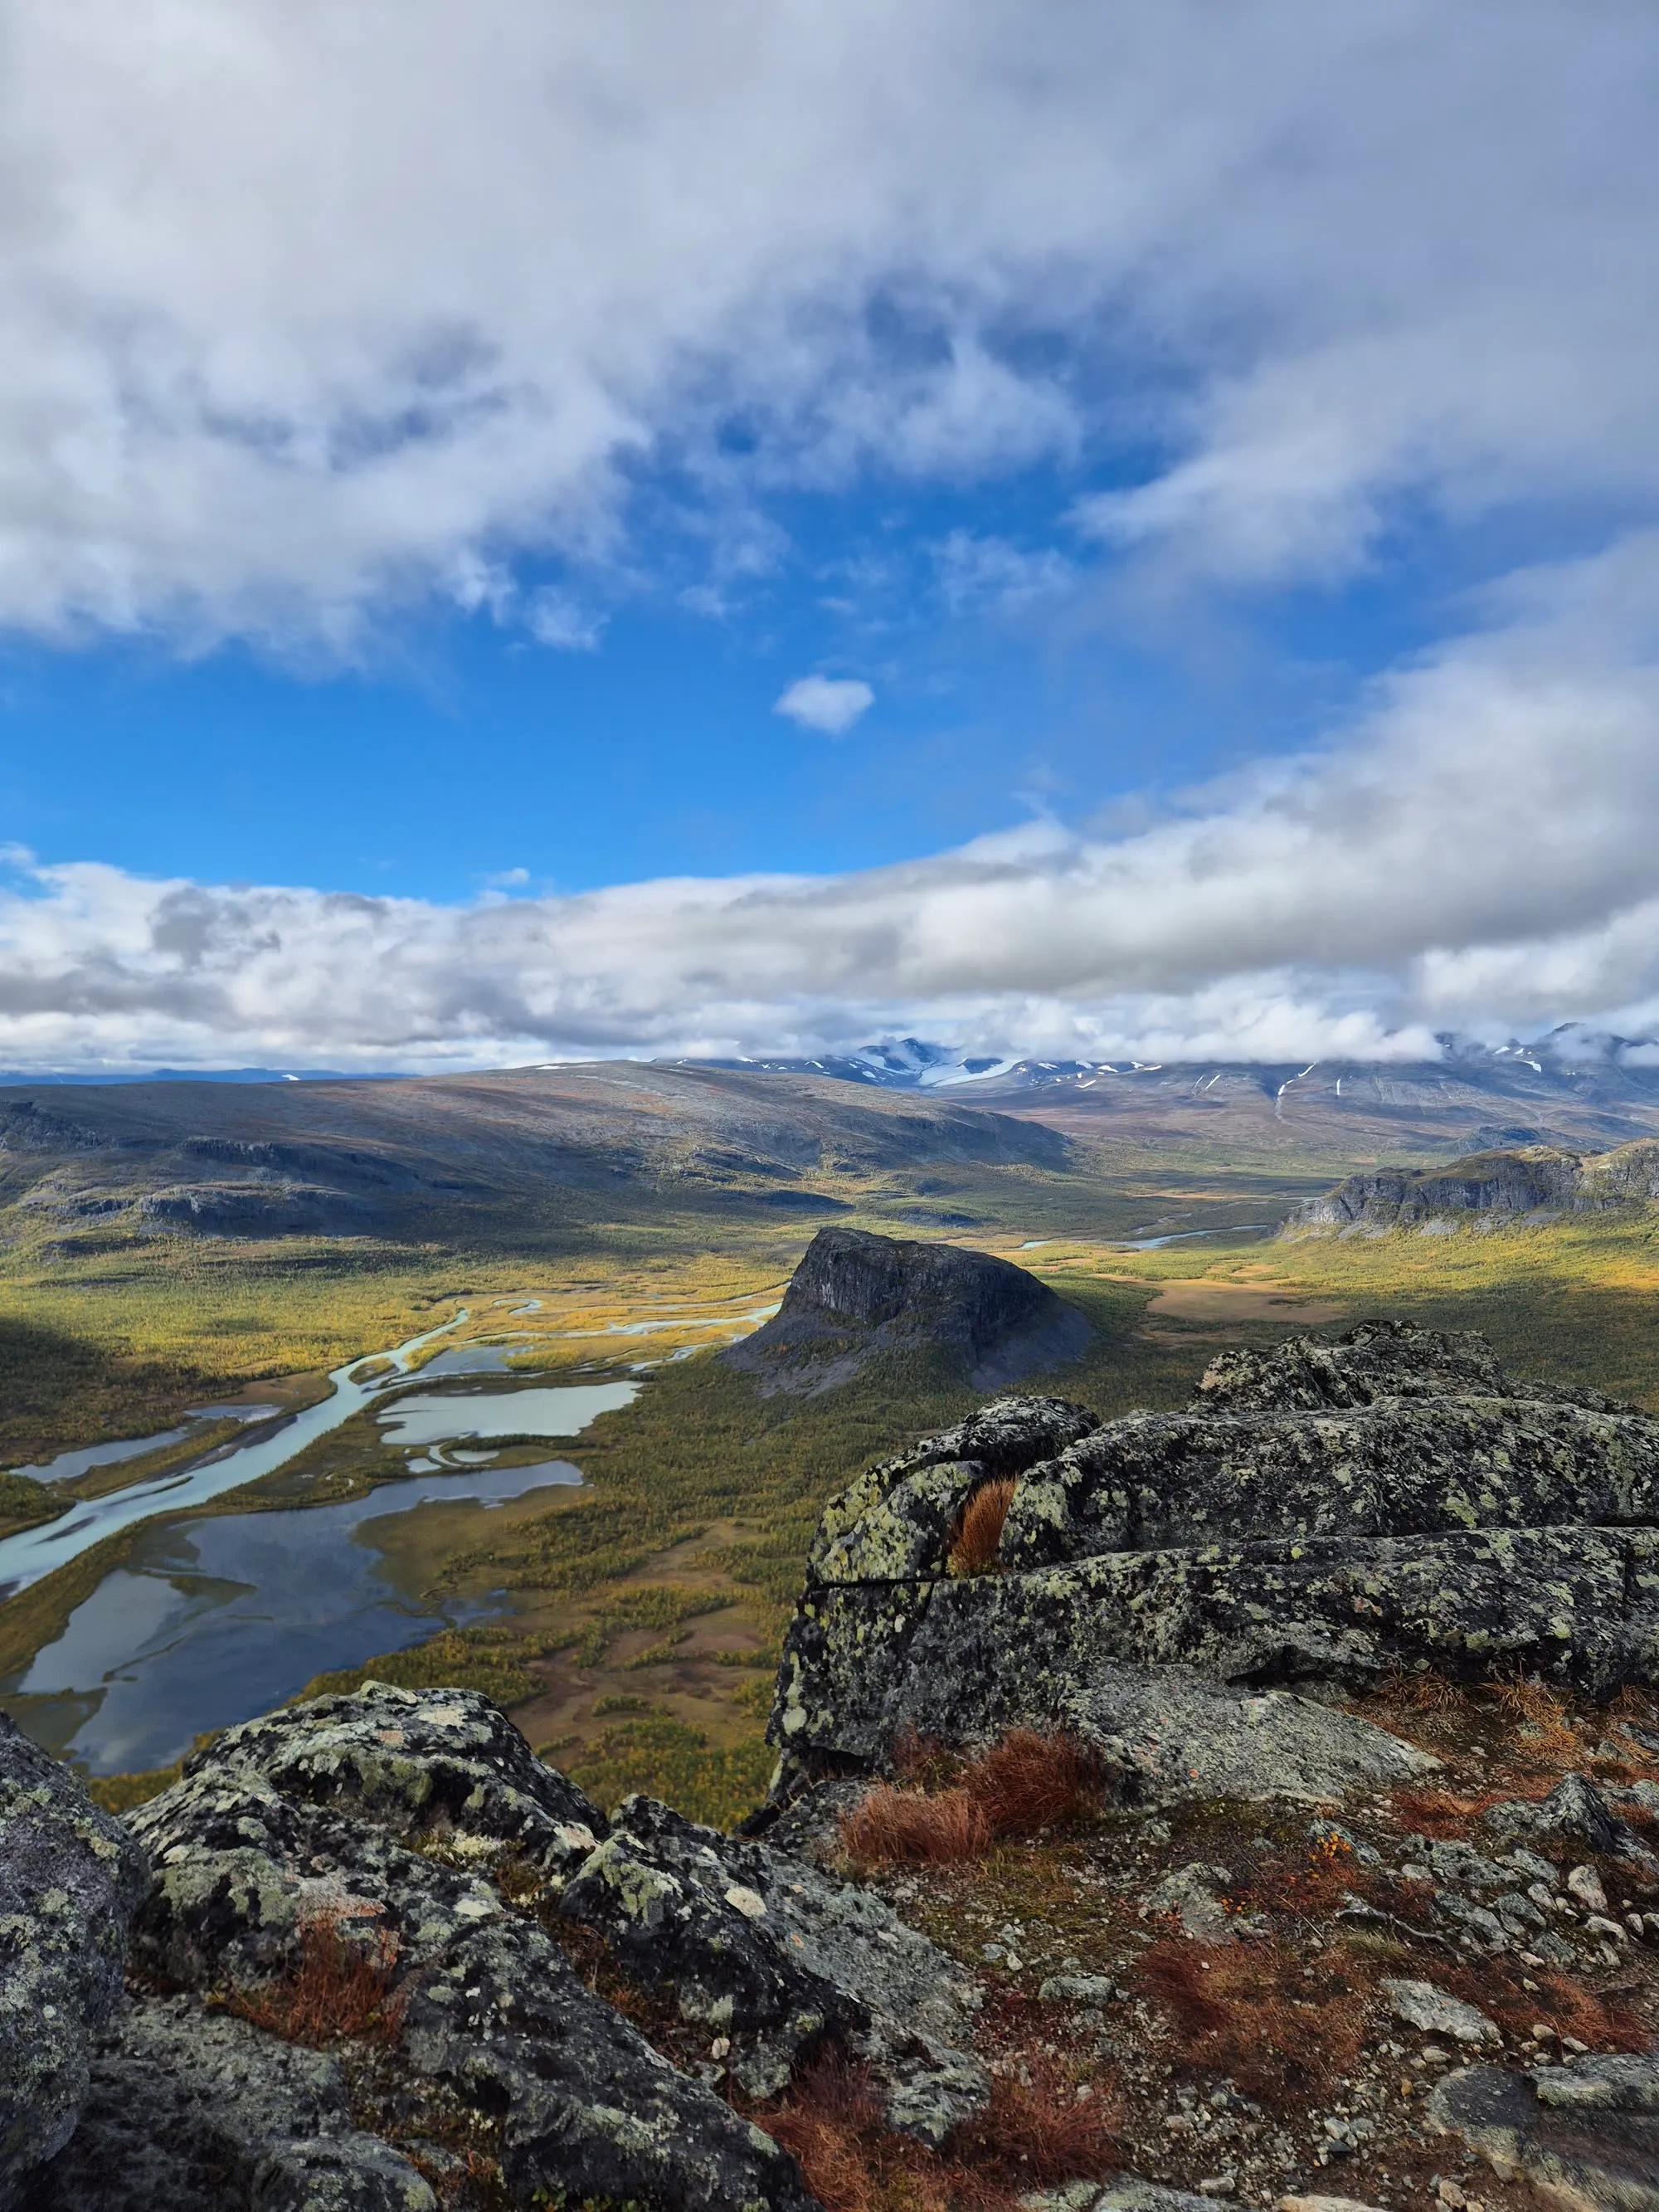
As I started the descent toward Aktse, the weather turned. The clouds rolled in and it began to drizzle. I was glad I’d had clear weather for the view.
I reached Aktse just in time to cook a quick dinner and visit the mountain shop before the 17:00 boat across Lake Laitaure. The crossing took about ten minutes. There is also the option to row yourself across if you miss the boat.
On the far side I continued along the Kungsleden until I found the first decent place to pitch my tent.
Days 8 and 9: Back to Kvikkjokk
The next day I kept hiking south along the Kungsleden. It was cloudy, with occasional drizzle. The weather cleared toward the evening.
When I reached Stuor Dáhtá I decided to set up camp, as there were decent spots along the lake. It was also only about 10 km6.2 mi from Kvikkjokk, and I figured I could hike the last section the next morning in two to three hours. I had a long drive ahead of me, so I didn’t want to arrive at the car too tired.
I went for a quick cold swim, made dinner and watched the sun set over the lake. The next morning I woke early and was back at the car in less than three hours.
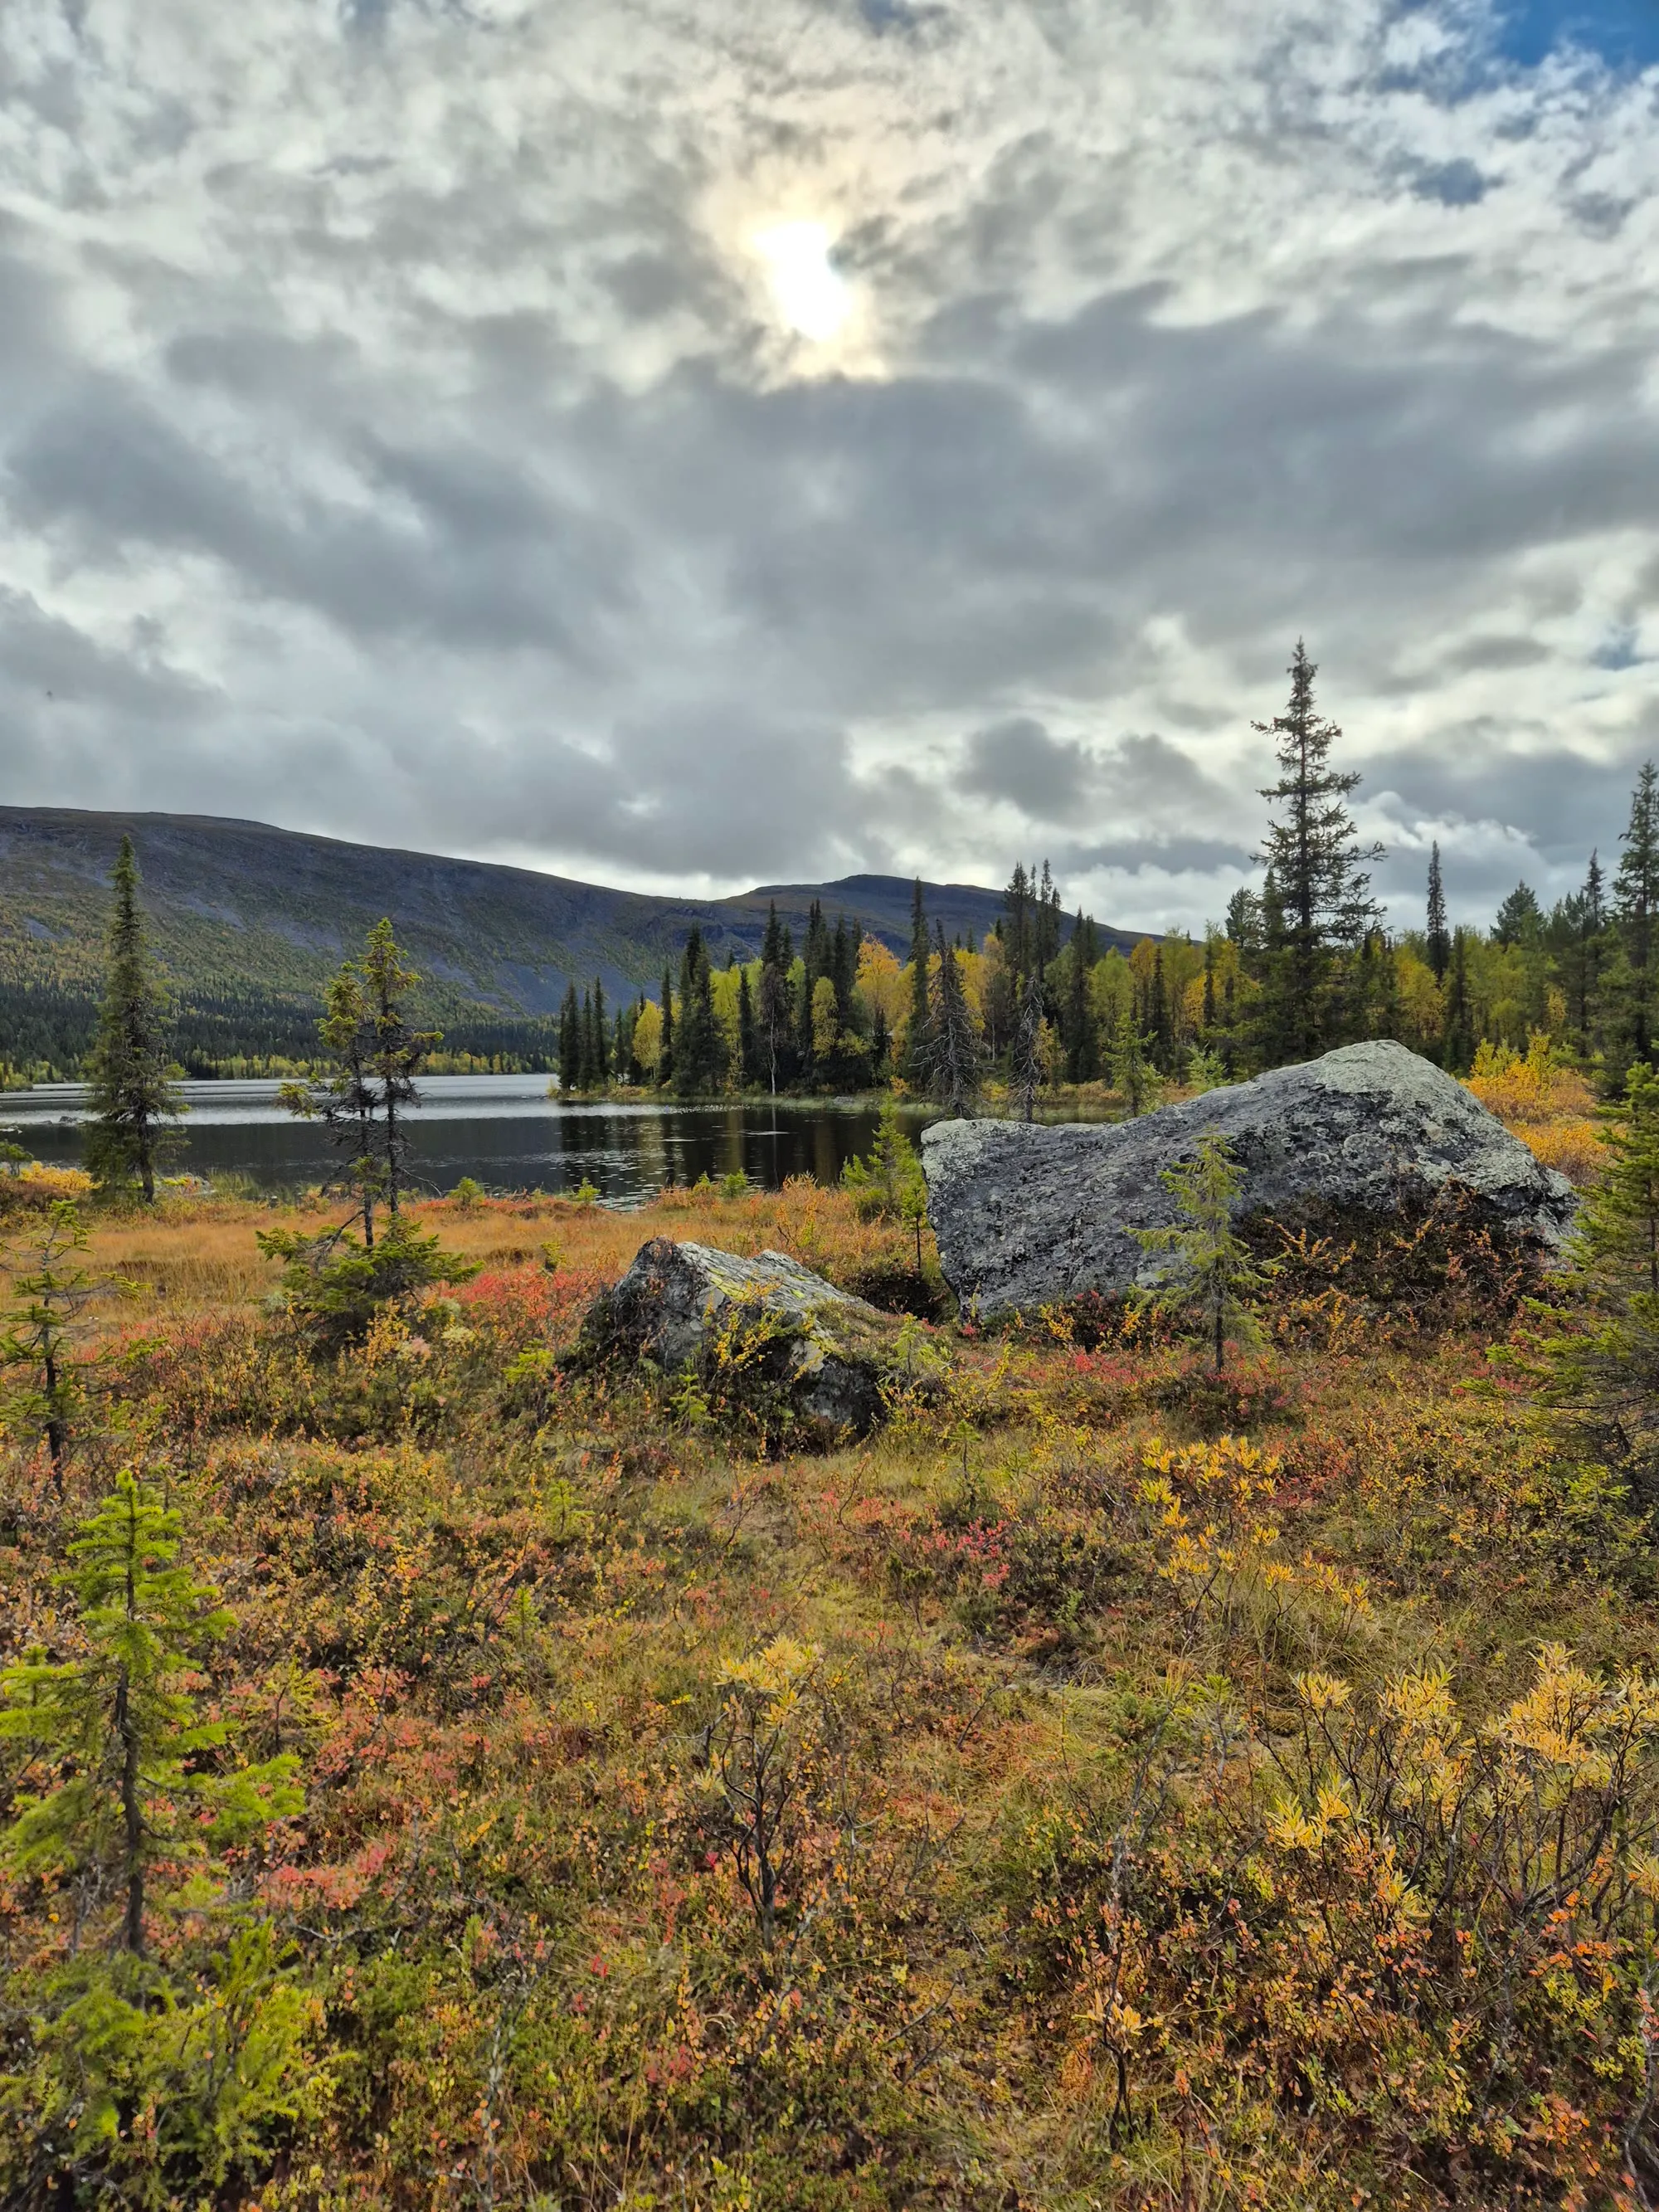
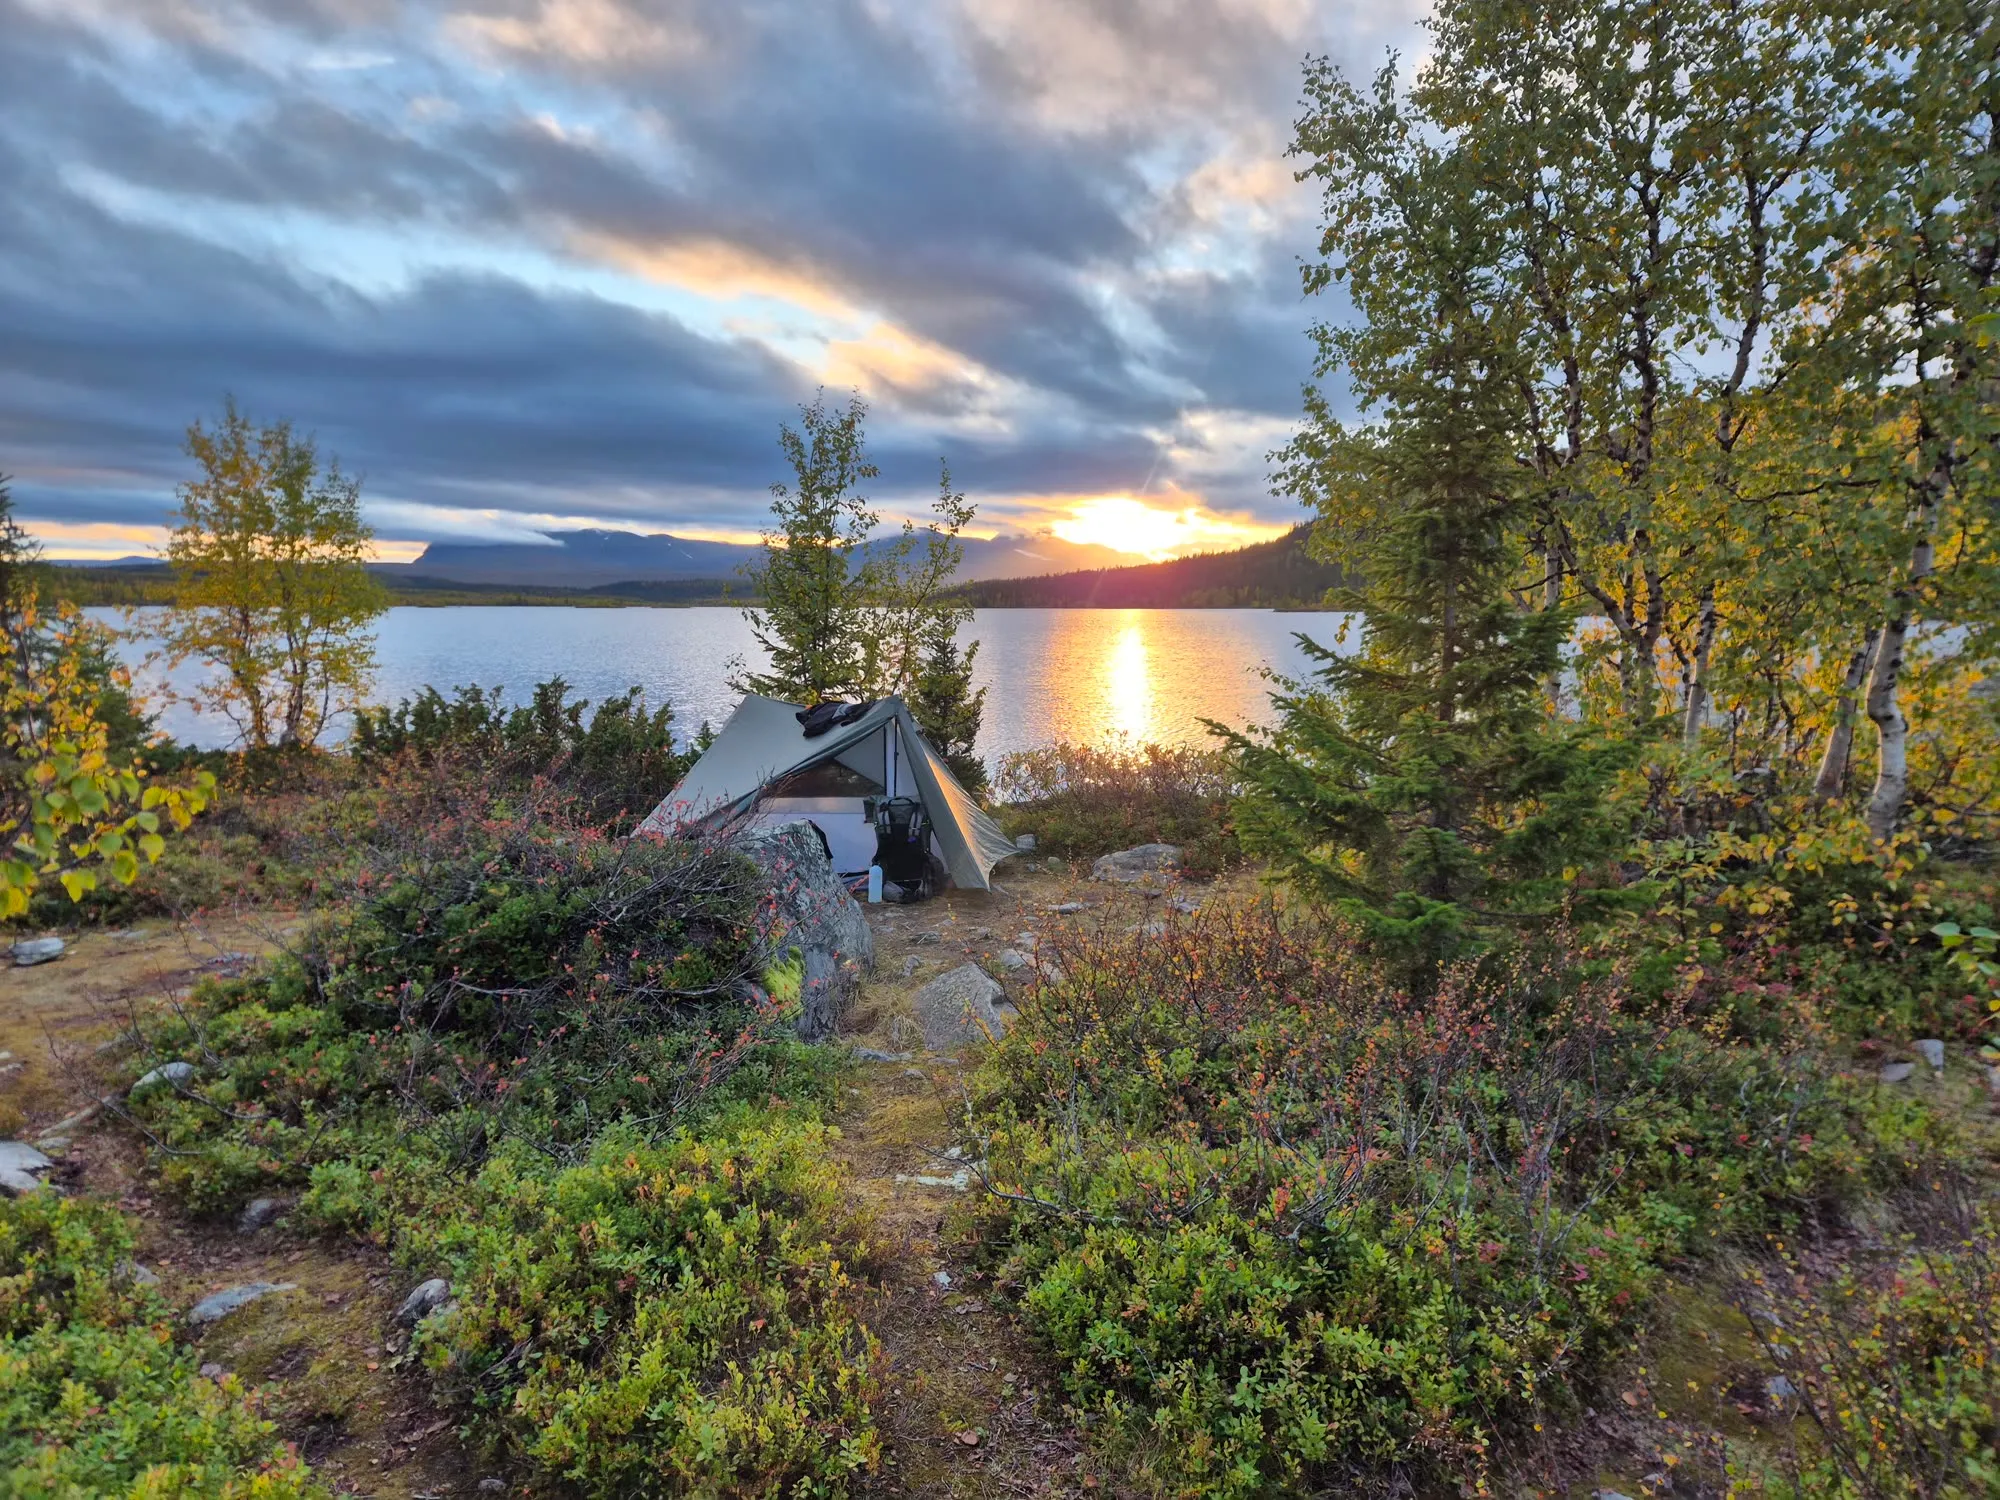
I finished a day earlier than planned, partly from skipping Snávvájávrre and partly from a faster pace after crossing the Rapaälven than I had expected. The weather was rainy at times, but the sun came out when it mattered.
From the summit of Bårddetjåhkkå I got a glimpse of northern Sarek, and I’d like to explore it some day.
Reflections
Preparation
The preparation made a huge difference. I rarely had to make a big decision on the spot. I knew roughly what to expect and what my options were, which let me focus on the route-finding. The forum threads and blog posts listed below were a large part of that. Knowing where other people had crossed, and where they hadn’t, made the route safer than it would have been if I had worked it out on the ground.
The one thing I should have prepared for better was the moraine along the glacier. I knew it was there, I just hadn’t fully understood how slow and awkward it would be to cross.
Hiking Alone
This was my first long solo hike in the wilderness. I have years of experience hiking in groups and I have done shorter multi-day hikes alone, but never nine days.
I wondered beforehand whether I would get a touch of mökkihöperyys, the Finnish word for going slightly strange from being alone too long. It didn’t happen. I enjoyed being out there alone more than I expected. My own decisions, my own pace. Nobody to wait for, nobody to rush for. Just me and my routines.
One Hot Meal a Day
On group hikes I usually eat two or three hot meals a day, but for this solo hike I decided dinner would be my only one. Cooking and eating lunch with friends is nice, but this worked well for me solo, especially in Sarek with unpredictable weather. I was able to keep my energy levels high on the go, without having to stop to cook.
Keeping Gear Dry
I didn’t use a rain cover with my Durston Kakwa 55 (Ultra 200X) backpack. I have seam-sealed it, but that doesn’t make it waterproof. I put everything in smaller dry bags instead, which keeps things organized as well as dry, and nothing got wet on this trip despite the rain. But people who recommend a pack liner are probably right. Liners are cheap and weigh almost nothing, while high-end dry bags can be expensive. I like the organization enough to keep paying for them, but I wouldn’t argue against a liner.
Gore-Tex Shoes
I hiked in Gore-Tex shoes (Altra Olympus 6 Hike Mid GTX), even though the online consensus favors non-waterproof trail runners that drain and dry fast. They stayed warm in cold weather even when wet and I was able to dry them out on the clear days and keep them dry when the rain was light. Trail runners would have been soaked constantly from the wet vegetation and small streams, and my feet would probably have been colder.
Useful Reading
If you are planning to climb Bårddetjåhkkå, this trip report describes the other route up to the observatory:
If you are interested in wading across the Sarvesjåhkå or the Rapaälven, these forum threads are worth reading:
This blog post explains the route options between Skårkistugan and Skierfe in detail, which was very helpful for my planning: